You may have seen text used creatively as a container for picture fills so many times, but did you realize that you could do it within
PowerPoint? Yes, all you need is PowerPoint and nothing else! Well, of course you still need imagination, the proper picture to use as a fill, and
a nice thick, blocky font. But you probably have it all already, and we will help you put all these elements together within this quick and easy
tutorial.
To understand this better, look at Figure 1, below where we used the Arial Black font, sized it to 220 points, and
filled the selected text with a picture fill. The result looks clean and elegant, but make
no mistakes about this: your final result will depend upon the font you use and the picture you use for the text fill!

Figure 1: Picture-filled text can look elegant
To achieve this result, follow these steps:
- Type in some text on your slide. You can use a text
box rather than placeholder text. Then, resize text to a larger size. Also use a blockier font such as Arial Black, Gill Sans Ultra Bold, Eras Bold ITC, Open Sans
Extra Bold, Segoe UI Black, etc. Figure 2, below shows some text using
Arial Black. This is a good option to
use if you want to distribute your slides with editable text because this font has been included within previous PowerPoint releases.
Open Sans Extra Bold is a great alternative. This font is a
free download from Google and also works well for this purpose although it is not as widely installed as Arial Black.

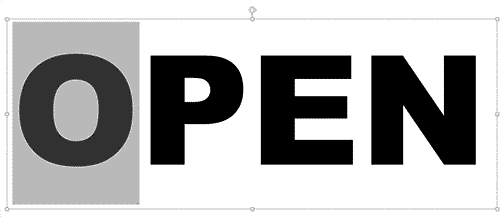
Figure 2: Text added on a slide - Now select your text. Make sure you select the individual text that you want to fill up. We just wanted to fill the character "O" in
OPEN with a picture fill. So we just selected that character part, as shown in Figure 3, below.

Figure 3: Select your text- Next, fill this text with a picture fill to end up with the result similar to what you see in Figure 4, below. Remember that
your picture will be squeezed or stretched depending upon the orientation of the picture you use for the fill.

Figure 4: Text filled with a picture
Stretched or Squeezed?
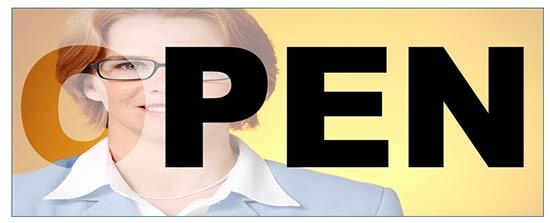
- You might think that since you just selected a single character within the text box, the entire picture would then fill within that character.
No, that won't happen! PowerPoint will fill in that picture to the entire text box to cover all the characters, even those you haven't selected,
and the part of the picture you will see in the text with the picture fill will be exactly the same as what would have been visible if you had
selected all characters. Figure 5, below shows a simulation in which the entire picture has been placed as a fill for the text
box. Fortunately, the only silver lining is that PowerPoint still does not show the fill within the other, unselected characters!

Figure 5: Understand how PowerPoint treats picture fills for individual characters
- You can similarly fill other characters with other pictures to end up with something similar to what you can see in Figure 6, below.

Figure 6: Different pictures used for all individual characters- However, this stretch and squeeze does play havoc with the predictability factor of what you will end up seeing in each individual text
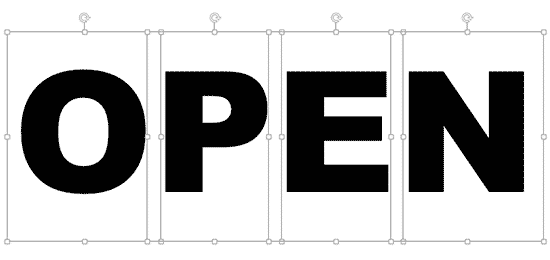
character! To counter this problem, you can use a different text box for each character, as shown in Figure 7, below.

Figure 7: Individual text boxes for each character
And then when you add a picture fill to each of these characters individually, you can see the entire picture filling the individual character, as shown
in Figure 8, below.

Figure 8: Each character with a separate picture fill
Of course this approach has its own challenges! There's no way you can set the picture's proportions or even nudge or stretch the picture fill!
What you can do though is work with three types of orientations: landscape, portrait, and square. Use landscape orientations for characters such as W
and M which are wider. Similarly, use portrait oriented pictures for characters such as I and J, and finally you can use square pictures for
characters such as A, B, C, etc.


