Table Styles are pre-defined styles for tables that contain combinations of formatting elements such as fills, borders, and font colors. PowerPoint provides various such styles to choose from—just a single click can make your selected table look great.
To apply a Table Style, you first need to have a table in your presentation. Insert a table, or select an existing one. Then follow these steps to add Table Styles in PowerPoint 2013 for Windows:
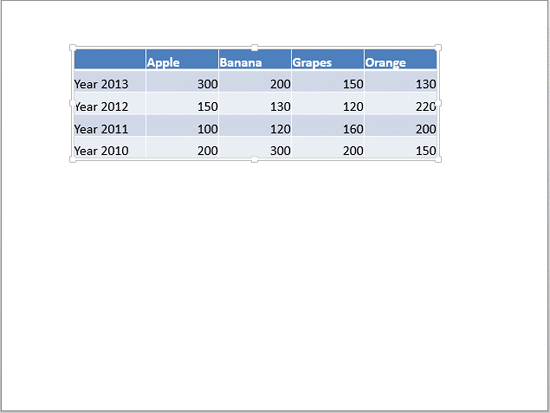
- Select the table, as shown in Figure 1, below.

Figure 1: Table selected - This action brings up the Table Tools contextual tabs on the Ribbon as shown in Figure 2, below. Select the Table Tools Design tab, as shown highlighted in red within Figure 2, and click the down-arrow located within the Table Styles group, as shown highlighted in blue within Figure 2.

Figure 2: Table Tools Design tab of the Ribbon
Contextual Tabs
- The Table Tools tab is a contextual tab of Design and Layout. Contextual tabs are special tabs in the Ribbon that are not visible all the time. They only make an appearance when you are working with a particular slide object which can be edited using special options.
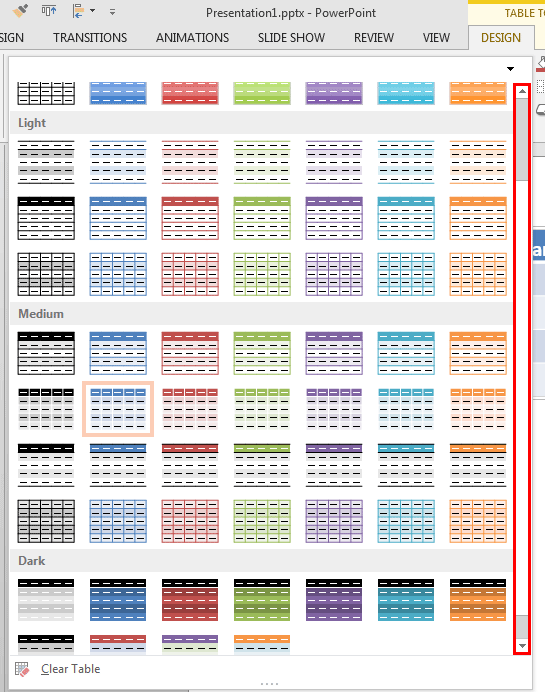
- Doing so brings up the Table Styles drop-down gallery, as shown in Figure 3, below. Here, you can see the table style preview thumbnails divided into four categories: Best Match for Theme, Light, Medium, and Dark. Scroll up and down using the scrollbar towards right, as shown highlighted in red within Figure 3, to explore all table styles. The style preview thumbnail highlighted within a rectangle is the current style applied to your selected table.

Figure 3: Table Styles drop-down gallery
Header and Banded Rows
- Since our sample table shown in Figure 1, shown previously on this page includes a Header Row and also Banded Rows, most preview thumbnails reflect the same style. Want to know more about Header Rows and Banded Rows? Explore our Table Options tutorial, which also explains other similar features.
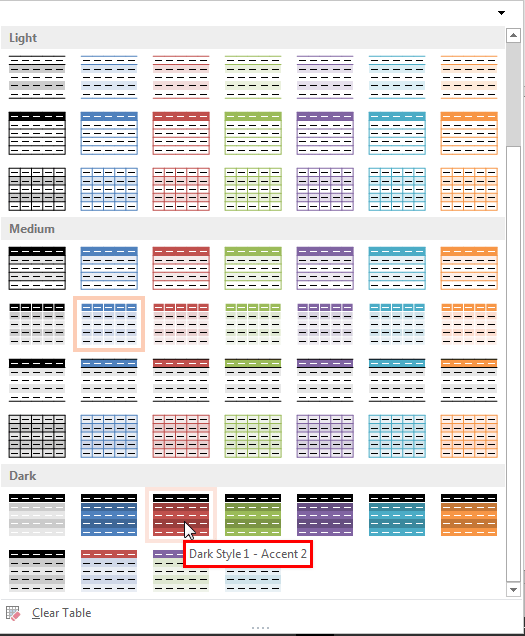
- When you place your cursor momentarily over any Table Style preview thumbnail, you can see its name displayed as tool tip, as shown highlighted in red within Figure 4, below. To apply this new style, click on the preview thumbnail, as shown in Figure 4.

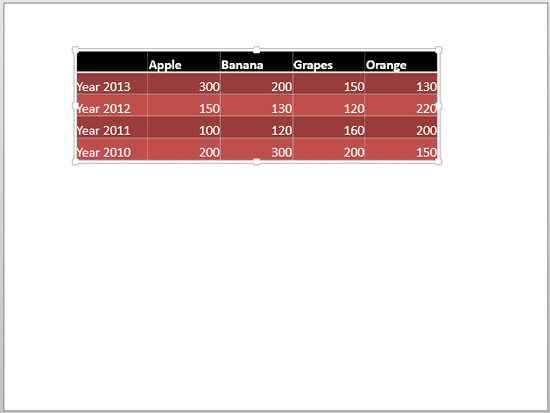
Figure 4: New style selected within the Table Styles drop-down gallery - Figure 5, below shows the selected table with a new Table Style applied (compare with Figure 1, shown previously on this page).

Figure 5: New table style applied to the selected table
Remove a Table Style
- Want to remove a Table Style entirely? That's easy to achieve. You click the Clear Table option, which is the last option within the Table Styles drop-down gallery (see Figure 4, shown previously on this page).
- Save your presentation.
Guidelines for Table Styles
Now, that you have learned how you can use Table Styles. Here are some guidelines to be aware of while using various Table Styles:
- Firstly, the rows/columns you highlight in your table using various Table Options such as Header Row, Header Column, Last Row, Last Column etc., influence the appearance of some of the Table Style previews, as mentioned earlier in this tutorial. Explore our Table Style Options in PowerPoint 2013 for Windows tutorial to understand these concepts better.
- Additionally, if you select Table Styles such as No Style, No Grid or No Style, Table Grid, then the effect of Table Options on the selected table will be overridden by these Table Styles.
- All Table Styles are based on Office Themes.
- Although these Table Styles are not available in some previous versions of PowerPoint, once applied in PowerPoint 2013 for Windows, they will show up when the file is opened in older versions.


