The fourth Card type within the Group Cards category in
Sway is the Slideshow Group Card. The Slideshow Group Card can only contain
Picture Cards and displays your pictures one after the other in Slideshow mode, not too
different than the Slideshow view of PowerPoint.

Follow these steps to see how the Slideshow Group Card works:
- Create a new Sway or open an existing one. Then access the All Cards
pane and select the Group category, as shown in Figure 1, below.
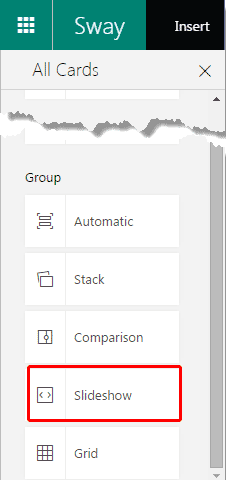
Figure 1: Group Cards within All Cards pane
Note: Is the All Cards pane, as shown in Figure 1 not visible? Then click the
Cards option in the menu bar as shown highlighted in red within Figure 2, below.
- Then choose the Slideshow option, highlighted in red within Figure 1.
This will place a new Group Card in your Storyline with a SlideShow Group layout, as
shown in Figure 2, below.
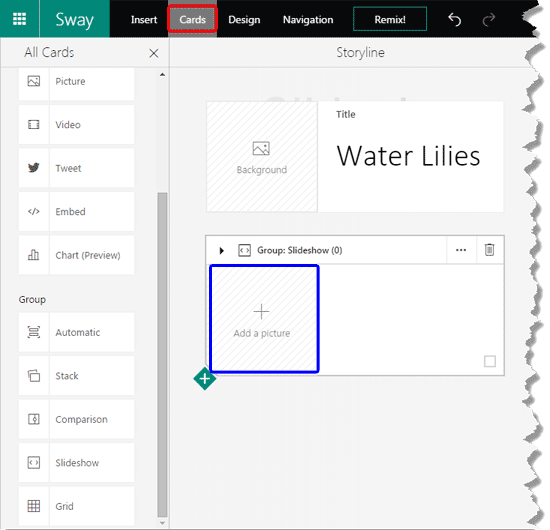
Figure 2: Slideshow Group Card added- Click the Add a picture box, highlighted in blue within Figure 2, above.
This will show the Insert pane, as can be seen in Figure 3, below. Options within the Insert
pane are explained in our Insert Options in Sway tutorial.
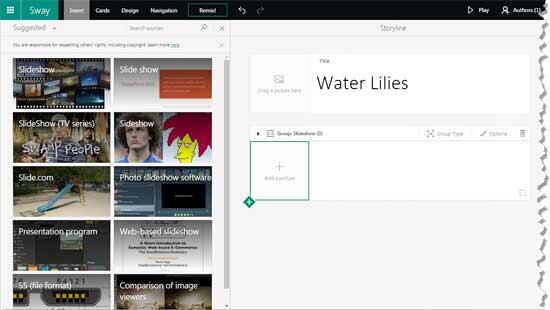
Figure 3: Insert pane- We added multiple Picture Cards within the Slideshow Group Card, as you can see
in Figure 4, below.
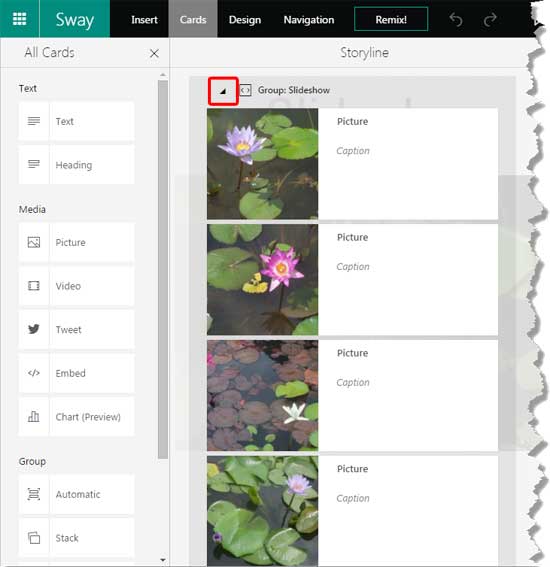
Figure 4: Picture Cards in our Slideshow Group Card- The moment you click on the Group handle on the top (highlighted in red within Figure 4,
above), you will find that your Group Card collapses, as shown in Figure 5, below.
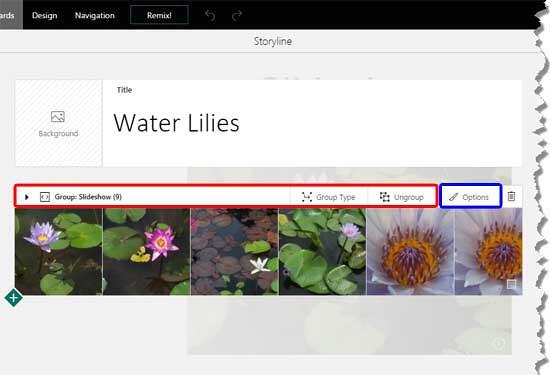
Figure 5: Slideshow Group created- You will also notice that several options are available in the area now. The options in the area highlighted in
red within Figure 5 are explained in Step 5 on our
Automatic Group Cards in Sway tutorial page. And the area highlighted in
blue within Figure 5 is explained in Step 4 on our
Picture Cards in Sway tutorial page.
- Delete: The last button on the right will delete the entire Group Card with all its contents!
- Within the individual Cards contained in the Group, you can do everything you can do with regular
Picture Cards, as shown in Figure 6, below. You will notice that this
Card sports all the options (area highlighted in red) that are available within a regular
Picture Card.
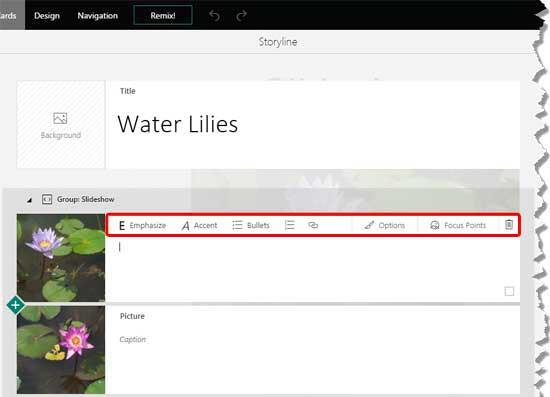
Figure 6: Picture Card within the Group Card- Add captions as needed to all the Picture Cards, as shown in Figure 7, and you are done.
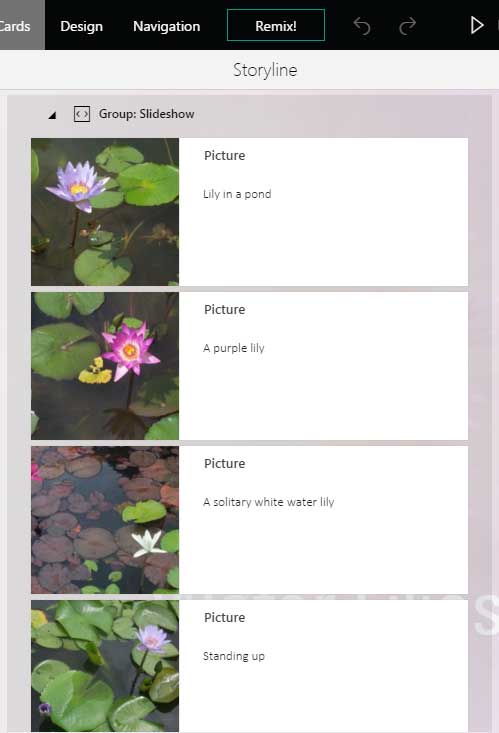
Figure 7: Add captions for your pictures
The embed below shows an actual Sway that uses the Slideshow Group Card. Click on the actual slideshow and use the previous and next arrows
to navigate in between pictures within the embedded Sway to see how it works!


