Learn how to rotate shapes approximately and accurately in PowerPoint 365 for Windows. Rotation can also be achieved quickly using some shortcut keys.
Author: Geetesh Bajaj
Product/Version: PowerPoint 365 for Windows
OS: Microsoft Windows 10 and higher
Let us say you insert a shape into your PowerPoint slide. What do you do next? You probably want to make a few changes to it, like resizing or rotating it. So, this is no different than what we do in our everyday lives, like rearranging our work desks or even changing the position of our favorite chair. Similarly, all objects on your slide need to be arranged appropriately, and rotation is one way of making this change happen.
In PowerPoint 365 for Windows, rotation can be applied in three ways that we explain on this page. We then look at rotating multiple shapes at the same time.
Follow these steps to rotate shapes in PowerPoint 365 for Windows:



Do you want more keyboard shortcuts?
Explore our PowerPoint Keyboard Shortcuts and Sequences Ebook that is updated for all PowerPoint versions.

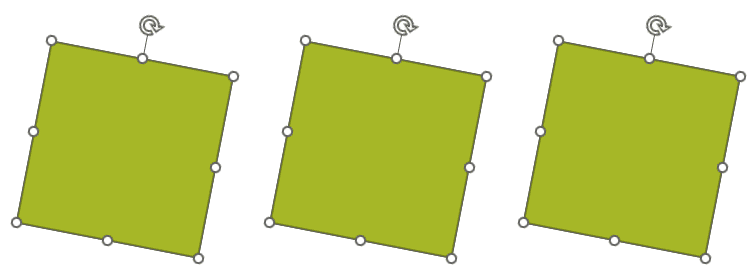
There will be occasions when you must rotate multiple shapes, independently or in relation to each other. What do you do in such a scenario? Let’s understand this better with an example. Say you have three shapes on your slide, as shown in Figure 7, below.
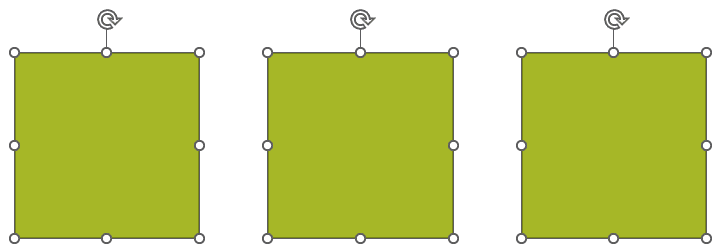
Figure 7: Multiple shapes selected
Let us now rotate these shapes, independently or in relation to each other.
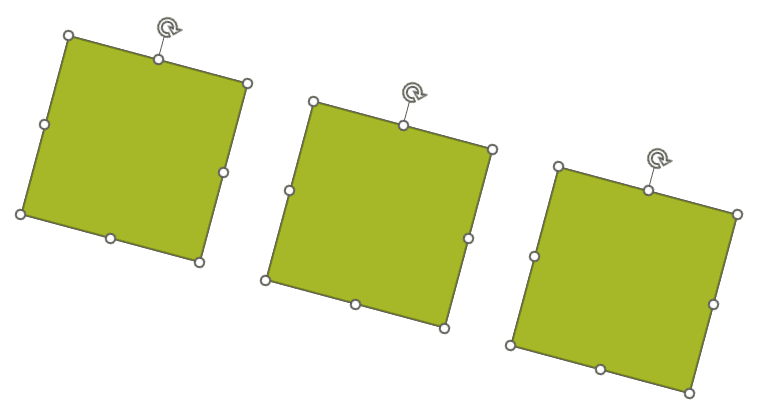
Follow these steps to rotate multiple shapes in PowerPoint, independent of each other:
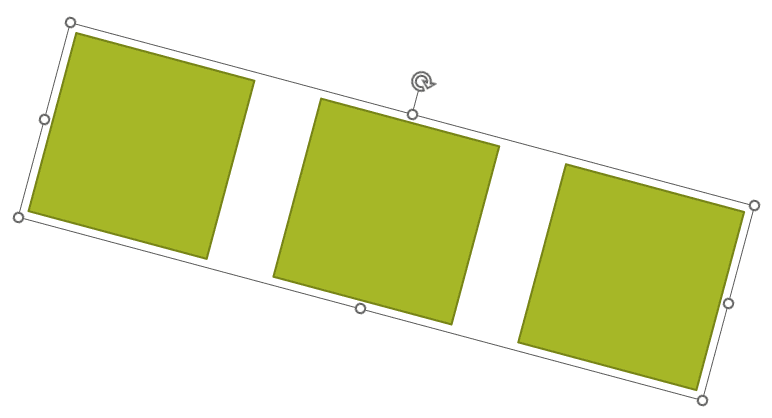
In this scenario, you want to rotate not just the shapes, but also the spacing, direction, and angles between the shapes. To achieve this result, follow these steps to rotate multiple shapes in PowerPoint, relative to each other:

For most practical purposes, anything you can select on a PowerPoint slide can be rotated using the techniques explained on this page. There may be some rare exceptions, and maybe all three rotation techniques may not work all the time. Yet, as a rule of the thumb, these rotation techniques are universal in nature. What’s more, often, these techniques will also work in other Microsoft Office programs such as Word and Excel.
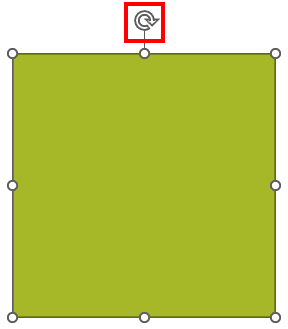
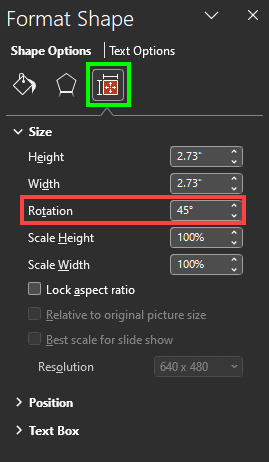
Just like you can rotate a physical object in your hand, you can also rotate objects in PowerPoint. This is done by dragging the rotation handle, entering an exact rotation amount, or by using keyboard shortcuts. To rotate an object means to turn it around its center. Shapes, images, and other objects can be rotated in Normal View or Slide Master View.
In PowerPoint, you can rotate or flip objects like text boxes, shapes, pictures, and anything else. You first select the object that you want to rotate. Then, select the rotation handle at the top of the object, and then drag in the direction that you want to rotate. To flip an object, select the Rotate option, and then the Flip Vertical or Flip Horizontal options.
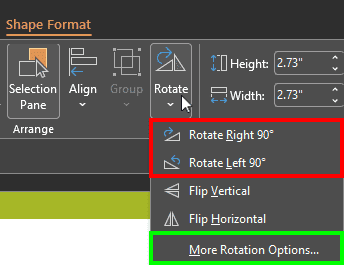
Just like you can rotate your friend when she's sleeping in her wheeled chair or other objects like that, you can rotate shapes or other objects in PowerPoint. The rotation handle is perfect for this objective, or you can use the ideas explained next for more precise results. Hold down the Shift key while you drag to rotate the selected item in 15-degree increments. Also, if you want to be really easy about it, click Rotate in the Arrange group to access fixed rotation values.
06 01 04 - Basics About Shapes: Rotate Shapes in PowerPoint (Glossary Page)
Rotate Shapes in PowerPoint 365 for Mac
Rotate Shapes in PowerPoint 2016 for Windows
Rotate Shapes in PowerPoint 2016 for Mac
Rotate Shapes in PowerPoint 2013 for Windows
Rotate Shapes in PowerPoint 2011 for Mac
Rotate Shapes in PowerPoint 2010 for Windows
Rotate Shapes in PowerPoint for the Web
You May Also Like: Presentation Studio, Australia: Conversation with Emma Bannister | Macau Flags and Maps PowerPoint Templates

Microsoft and the Office logo are trademarks or registered trademarks of Microsoft Corporation in the United States and/or other countries.