Once you add a shape to your PowerPoint slide, you may want to resize and/or rotate it. We have already covered resizing shapes in a separate tutorial, and now you will learn how you can rotate a shape. Rotation can be very useful, especially if you need to change the orientation of an arrow, or rotate a duplicated shape. Whatever your motive may be, rotation can be applied in more than one way in PowerPoint.
Follow these steps to rotate shapes in PowerPoint 2011 for Mac.
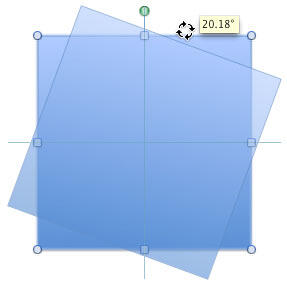
- Select the shape so that the green rotation handle on the top of the shape, as shown in Figure 1, below, is visible. Click the green handle to change your mouse cursor to a circle of arrows, as shown in Figure 1.

Figure 1: Selected shape, ready to be rotated- Now, hold down the left mouse button, and drag towards the right or left to rotate the shape around it's center, as shown in Figure 2, below. Remember not to let go off the mouse button when you drag. Also, notice that PowerPoint shows a tooltip that mentions the rotation degree, as shown in Figure 2.

Figure 2: Click and drag the green rotation handle to rotate the shape- To rotate your shape with more control, hold the Shift key while you drag the green handle to rotate in 15-degree increments. At every 15-degree increment, you will find that the shape snaps into place. Thus, if you rotate rightwards through four 15-degree snaps, you would have rotated your shape by 60 degrees.
- You can also rotate by holding the Alt (Option) key, and then pressing either the Left or Right arrow keys to rotate the shape in 15-degree increments clockwise/counter-clockwise. This option rotates the selected shape without having to use your mouse at all.
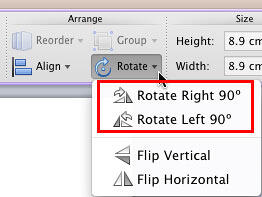
- To rotate the shape in 90-degree increments, first double-click the selected shape. This activates the Format tab on the Ribbon. Within this tab, locate the Arrange group, click the Rotate button in it to access the Rotate gallery, as shown in Figure 3, below. Choose either Rotate Right 90o or Rotate Left 90o, as shown highlighted in red within Figure 3. To rotate any shape by 180 degrees, click any of these Rotate options twice.

Figure 3: The Format tab includes Rotate button
Rotate Text within Shapes by 180 Degrees
- If you have worked aplenty with text in PowerPoint, you'll notice that text within the shape can be rotated by 90° and 270°, but not by 180°. Explore our Rotate Text 180° within Shapes in PowerPoint 2011 for Mac to find a workaround for this problem.
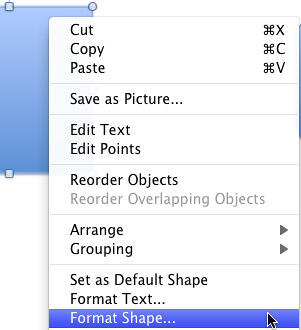
- You can also right-click (or Ctrl + click) the selected shape, and from the resultant menu, chose the Format Shape option, as shown in Figure 4, below.

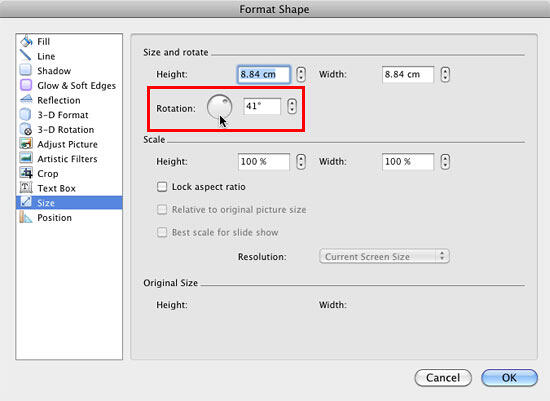
Figure 4: Format Shape option selected- Doing so opens the Format Shape dialog box. In this dialog box select the Size panel which includes the size and rotate edit options for shapes, as shown in Figure 5, below. In this dialog box, enter the values (in degrees) in the Rotation spinner control, as shown highlighted in red within Figure 5, to rotate the selected shape. You can change the Rotation option to any value from -3600o to 3600o or type a zero-rotation value to restore the original placement of the shape. Now the question that arises is why PowerPoint lets you do a 3600-degree rotation at all? Our guess is that this has nothing to do with mere rotation since a full rotation is only 360-degrees, and 3600-degrees would suggest 10 rotations!
- If you have already rotated an object manually, and want to now reset its rotation value, just type in 0 in the Rotation box to reset its rotation value.

Figure 5: Format Shape dialog box
Ensure You Can See the Live Preview
- When you are making changes to the shape attributes from within the Format Shape dialog box, you can see the Live Preview of the changes in the selected shape. So, always place the Format Shape dialog box in such a position where it won't hide the selected shape.
- Click the OK button to apply the changes and get back to your slide.


