Creating slide backgrounds for use in PowerPoint is something that can use a little help from Photoshop. That's because Photoshop has an amazing repertoire of tricks that makes creating backgrounds easy. One thing you need to understand before even opening PowerPoint or Photoshop is that your slide backgrounds need to remain in the "background". This means you have to say goodbye to complicated, busy, and colorful backgrounds. A background graphic needs to be clean, it needs to use fewer colors, and it certainly needs to be understated. One of the effects in Photoshop called Reticulation lets you achieve all these objectives.
In olden days, Reticulation was the process of crafting metal by inducing heat through a torch - ending up with metal which is patterned into ridges, textures, and embossed effects. Nowadays, of course, only artists and craftsmen use the Reticulation process as most metal is machine-made. Photoshop's Reticulation filter tries to emulate this amazing effect.
Photoshop's Learning Curve?
Photoshop does have a learning curve. However, if you follow all instructions on this page, you can easily create reticulated backgrounds for PowerPoint within Photoshop. Yes, this article does assume some familiarity with the Photoshop interface. You can find links to Photoshop resources on our Adobe Photoshop page.
Do note that we have no recommendations for any specific version of Photoshop. For this tutorial, we did however use Photoshop CS6 for the screenshots you see on this page:
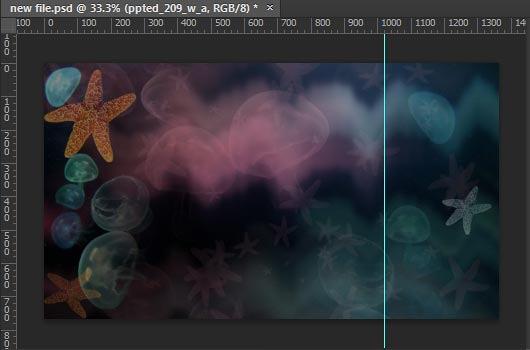
- Make sure you use the proper Photoshop template for creating PowerPoint slide backgrounds. Then, choose the File | Place menu option to place any picture within Photoshop as a separate layer, as shown in Figure 1, below.

Figure 1: Image opened within Photoshop - Press the D shortcut key in Photoshop to change the Foreground and Background colors to Black and White respectively, as shown in the swatches highlighted in red within Figure 2, below. These swatches are found at the lower part of the Tools palette in Photoshop. Note that the Foreground swatch is now active.

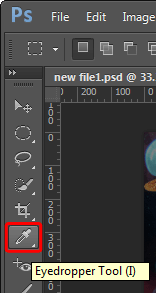
Figure 2: Foreground and Background swatches - Now, choose the Eyedropper tool within the Tools palette, as shown highlighted in red within Figure 3, below.

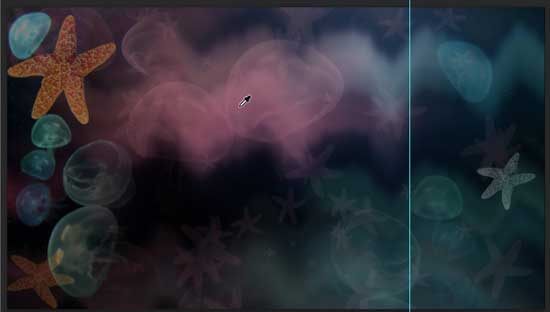
Figure 3: Eyedropper tool - Doing so will change the cursor to an Eyedropper, as shown in Figure 4, below. Since the Foreground swatch is active, you will change the foreground color. To do so, find an area in your picture that you want to use as part of your slide background, and click on it with the Eyedropper tool, as shown in Figure 4, below.

Figure 4: Click with the Eyedropper to establish the Foreground color - You will see that the Foreground color has now changed, as shown in Figure 5, below. Compare with Figure 2, previously on this page.

Figure 5: Foreground color chosen - Click the Swap Colors icon, as shown highlighted in red within Figure 6, below.

Figure 6: Swap Colors icon - You will now see that the foreground and background colors have swapped and that White is now the foreground color, as shown in Figure 7, below.

Figure 7: Swatch color swapped - Similarly change the Foreground color again by using the Eyedropper tool, as explained previously on this page. This time, use a color that's not too different than the color you chose previously. We ended up with two similar colors, as shown in Figure 8, below.

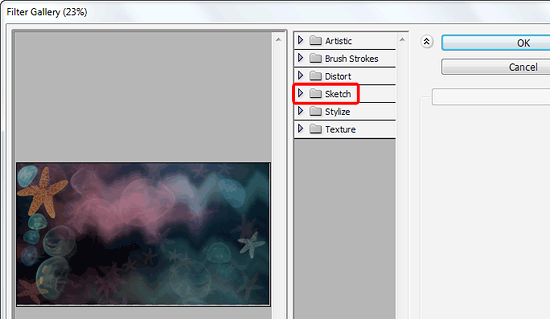
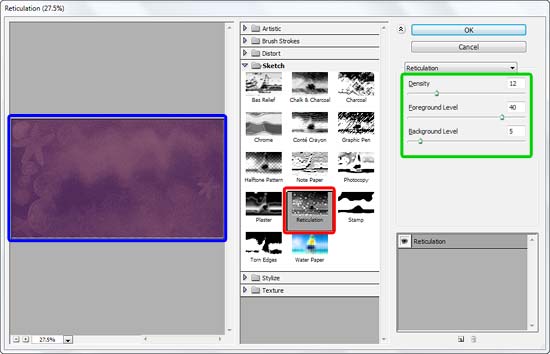
Figure 8: New Foreground and Background colors - Thereafter, access the Filter | Filter Gallery menu option. This opens the Filter Gallery dialog box, as shown in Figure 9, below. Here select the Sketch option, as shown highlighted in red within Figure 9.

Figure 9: Filter Gallery dialog box - Within the Sketch category, click on the Reticulation effect, as shown highlighted in red within Figure 10, below.

Figure 10: Reticulation effect - As soon as the Reticulation effect is selected you'll see some parameters, as shown highlighted in green within Figure 10, above, and also a live preview, as shown highlighted in blue within Figure 10.
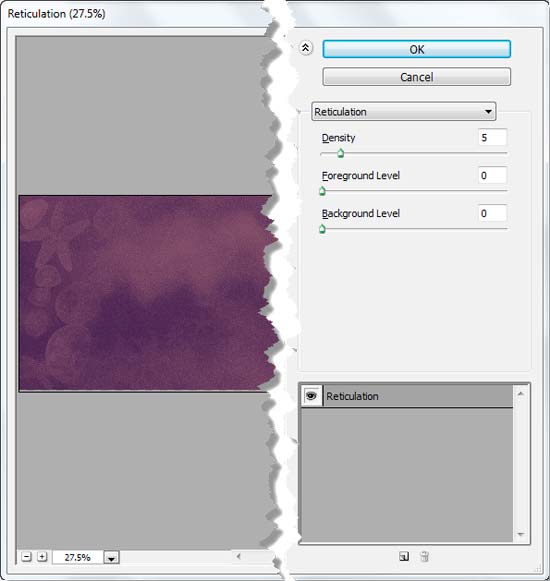
- Within the parameter section keep your Foreground Level and Background Level options at a value of zero, as shown in Figure 11, below.

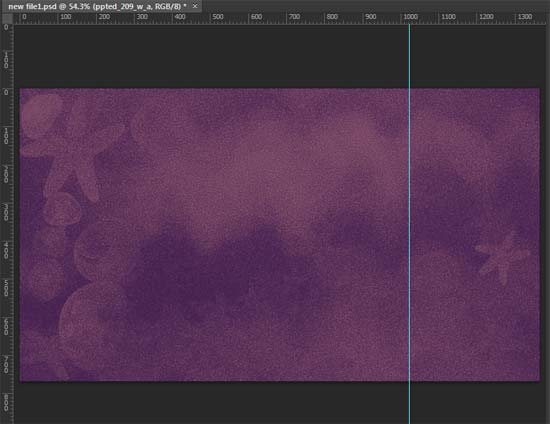
Figure 11: Reticulation effect parameters changed - Experiment with the density values anywhere between 1 and 5 - you could try going a little higher, but for all practical purposes, 5 should be sufficient. Once done click the OK button to apply the filter. We now end up with an image that is like a dense watermark of the image we started with, as shown in Figure 12, below. Compare with Figure 1, as shown previously on this page.

Figure 12: Reticulation effect applied - Make sure to save the picture under a different name. You can also use Photoshop's Save as Web option, as explained towards the end in our Creating Slide Backgrounds in Photoshop for PowerPoint tutorial.
