Archived Content
Content on this page is not recent and has been retained for historical reasons.
< Continued from Page 1
Back To Our Splash
Button Actions
Refining Your Splash
Compiling Your Autorun
Support
Step 7: Back To Our Splash
Open your saved project from Step 5. Anytime you want to preview your work in AutoPlay Menu Studio, press the F5 key.
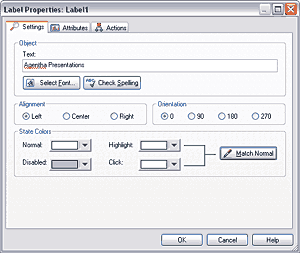
- Go to the Insert | Label menu option, and type any name in the Text area of the resultant Label Properties dialog box. Change to any font as required. We’ve set our Normal state color to White and opted to match our Highlight and Click colors to White as well. Click the OK to exit the dilog box and reposition the Label text within the work areas as required.
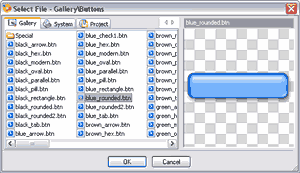
- Go to the Insert | Button menu option, and choose one of the readymade button styles included within Autoplay Media Studio. You'll have to click the Open icon next to the button name on the dialog box to find these.
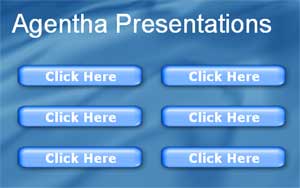
- Resize the button as required. Then, duplicate them to end up with 6 buttons (see screenshot). You'll need to align and distribute the buttons through the options available from the Object | Align menu.
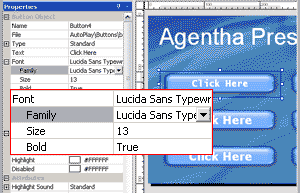
- Select any of the text boxes and format the font and captions using the Properties panel. If the Properties panel is not visible, choose View | Property Inspector. Format all buttons as required, choosing a different caption for each of them.
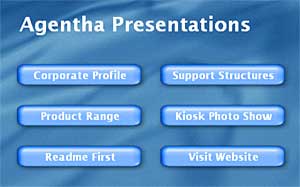
- Now, we have the basic structure of the autorun CD ready with the splash screen, let's add some actions for all buttons.
Back
Step 8: Button Actions
- Right-click a button and choose Properties, or double-click the button.
- In the resultant Properties dialog box, select the Actions tab. Click the Add Action button found on the bottom left.
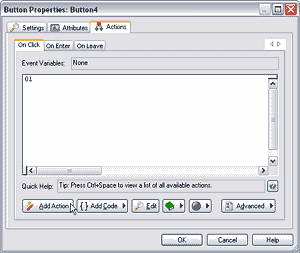
- Choose File in the Category drop-down box and File.Run in the Action drop-down box. Click the Next button.

- In the next dialog box, click the ellipses next to the Filename option. In the Select File dialog box, select the Project tab. You'll probably need to move up two folders above the visible folder to find the four folders that we saved to contain the presentations.
- We then opened the folder called 01 and selected the pptview.exe file. Click the OK button.

- In the area next to the Args (Arguments) option, we'll type in the name of the PowerPoint file that needs to be played. In our case, that's called Presentation1.ppt. Also, we chose a working folder. Autoplay Media Studio might change the location within the Filename option so make sure everything matches with the screenshot below.

- Assign the other three presentations in the same way.
- Open Windows Notepad and type any information which you think will be helpful for your end-user. Save this text file as readme.txt within your CD_Root folder. Link the Readme button to the text file using a File.Open Action (see screenshot).

- For the final web site link button, choose a File.OpenURL action and type the URL of your web site (see screenshot).
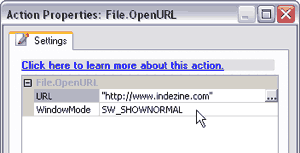
- Press F5 to preview your autorun CD. Save the presentation.
Back
Step 9: Refining Your Splash
This step is entirely optional.
You've successfully created an autorun splash and other files.
Now you can spend some time in fine-tuning and refining your splash to include your company logo, background music and other paraphernalia.
Save your project.
Back
Step 10: Compiling Your Autorun
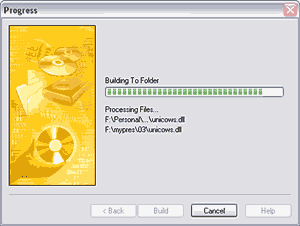
If everything seems fine, publish your autorun CD using the Project | Publish (or F7) option. Choose to output to a folder or burn straight to CD.
Back
Support
Although you should have no problems replicating this tutorial step by step, we don't welcome support queries especially since we don't have the time to respond to each question. That doesn't mean that you won't get support for anything related to this tutorial.
Indigo Rose has probably the best support options. You'll find FAQs, knowledge bases, forums and email support on their site in addition to tutorials. We strongly recommend you post your problems or doubts in their support forums.
Back


