Placeholders in PowerPoint make it easy for the users to insert any media file such as pictures, video, audio, etc. For Pictures, PowerPoint
provides two placeholders Content and
Picture. Although both placeholders enable you to insert
pictures, there is a difference in the way that pictures behave when inserted within these placeholders. In this tutorial we'll explore the
difference in between Content and Picture placeholders.
Follow these steps to learn more:
- Launch PowerPoint and change the slide layout to
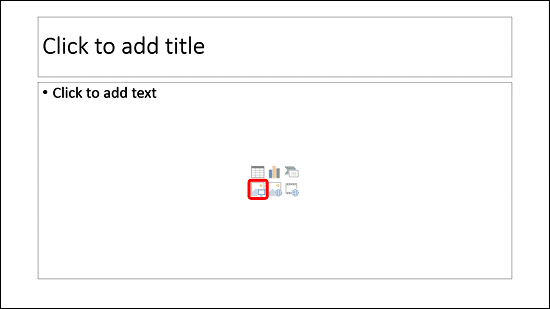
Title and Content, as shown in Figure 1.
Notice that this layout has a Content Placeholder that lets you add bulleted text or any of the 6 different content types in the
slide. Click on the Pictures button in the Content placeholder, as shown highlighted in red within
Figure 1.

Figure 1: Pictures button within Content placeholder
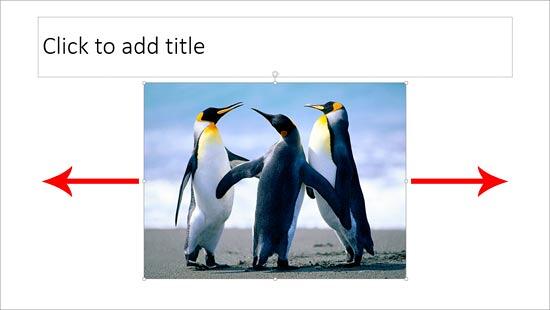
- Click the Pictures button and insert a portrait oriented (vertical) picture. Note that when you click the
Pictures button within a content placeholder, PowerPoint reduces the picture dimensions and places the full height of the picture
into the placeholder instead of filling the entire content placeholder, as shown in Figure 2. Likewise, if you insert a landscape
oriented (horizontal) picture, the full width of the picture will fit into the content placeholder, with no concerns about the height of the picture.

Figure 2: Picture inserted within content placeholder
Note: As soon as you insert the picture, the border outline of the placeholder disappears, as you can see in
Figure 2. To understand what the border looked like before inserting the picture, compare Figure 2 with
Figure 1. Also notice the red arrows we added within Figure 2 to indicate "lost" areas of the
placeholder.
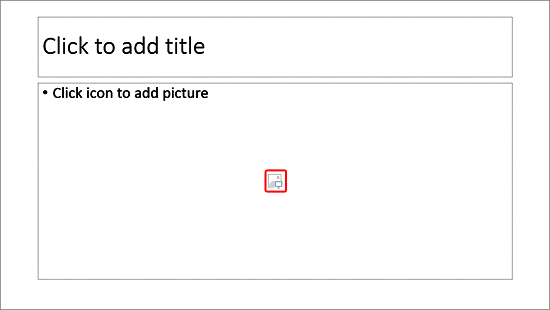
- Now, we'll insert the same picture within a Picture placeholder. You
can use the built-in Picture with Caption layout. For this
tutorial, we have created our own custom layout with a picture placeholder of the exact size and position as the Title and Content
layout, as shown in Figure 3, below.

Figure 3: Picture placeholder
- Now, click the picture icon within the Picture placeholder
(highlighted in red within Figure 3, above) and insert the same picture as the one
we used for the Content placeholder.
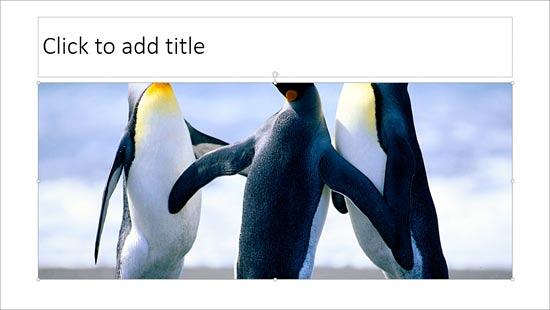
- In Figure 4, below, you can see that PowerPoint has stretched the picture dimensions
to occupy the entire placeholder.

Figure 4: Picture placeholder filled with picture
- You can now use the Crop option and
reposition the picture within the placeholder.
- Save your presentation often.
See Also:
Picture placeholders vs. Content placeholders by Echo
Swinford (external link)


