Pictures have an important role in presentation slides since they add imagination and visualization to your slides. To make pictures more impactful, you can even apply borders and effects to them, and also try some Picture Styles that PowerPoint offers. Other than these options, there is one more option that works in the same way as how you convert text to SmartArt. This is the Picture Layout option that similarly converts selected pictures into SmartArt.
Follow these steps to learn how to apply a Picture Layout in PowerPoint 2016 for Windows:
- Select the picture (or even multiple pictures on a slide) that you want to apply a Picture Layout to. You can then change the slide layout to Blank by selecting the Home tab | Layout | Blank option. Then, insert a picture and select it, as shown in Figure 1. As already specified, you can optionally insert and select multiple pictures on the same slide.
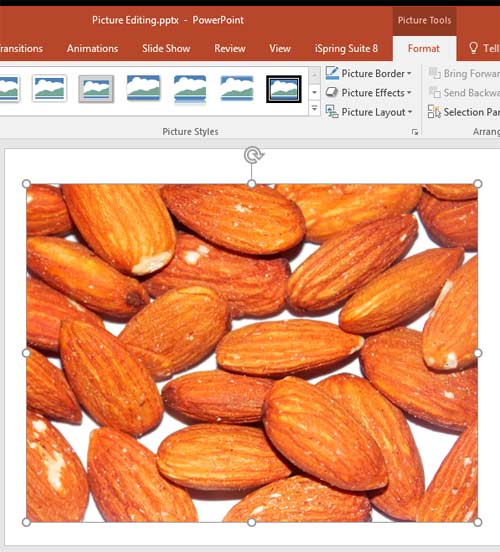
Figure 1: Picture inserted and selected - This brings up the Picture Tools Format tab (highlighted in blue within Figure 2) on the Ribbon. Select this tab to access the picture editing options. Within the Picture Tools Format tab, click the Picture Layout button (highlighted in red within Figure 2). This opens the Picture Layout drop-down gallery as shown in Figure 2.
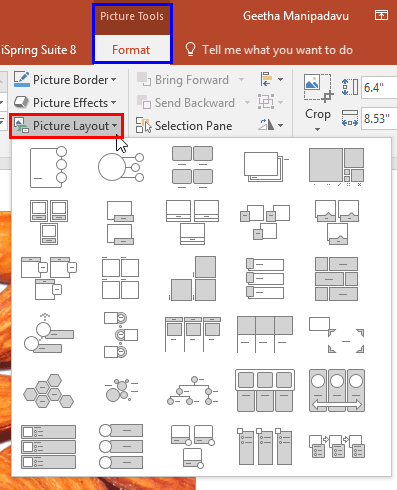
Figure 2: Picture Layout drop-down gallery Note: The
Picture Tools Format tab is a
Contextual tab. These contextual tabs are special tabs in the
Ribbon that are not visible all the time. They only make an appearance when you are working with a particular slide object which can be edited using special options within these tabs.
- When you hover your cursor over the Picture Layouts within the Picture Layout drop-down gallery, you will see a Live Preview of the Picture Layouts on your selected picture(s) on the slide, as shown in Figure 3. Click on any Picture Layout to apply it to the selected picture(s). In Figure 3 you can see the Picture Layout named Alternating Picture Circles (highlighted in red) being clicked upon.
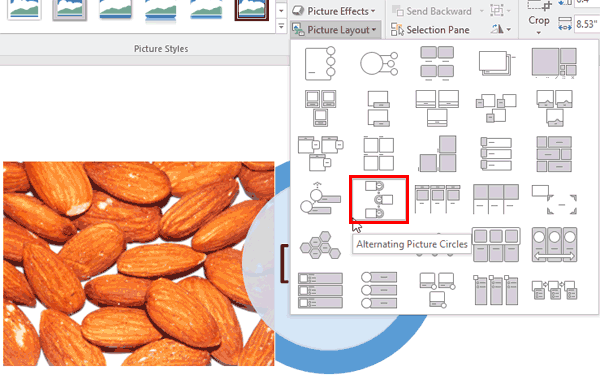
Figure 3: Live Preview of the Picture Layout - Doing so applies the selected Picture Layout to the picture(s) on the slide, as shown in Figure 4, below. Now you can see that the selected picture is contained within a SmartArt graphic. This can be easily confirmed by checking within the Ribbon area, where you will see that the Picture Tools tab has been accompanied by the SmartArt Tools tab, as shown highlighted in blue within Figure 4. If the picture within this SmartArt is not selected, you wll see only the SmartArt Tools tab.
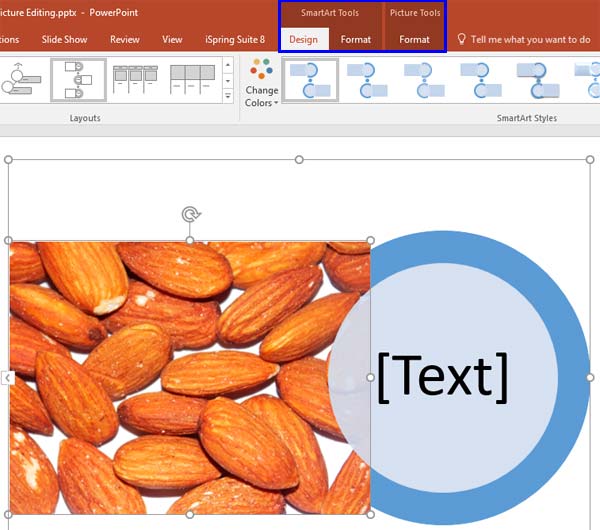
Figure 4: Picture converted into a SmartArt - Note: If you selected multiple pictures, then the result of applying a Picture Layout will be that all your selected pictures will form part of the same SmartArt graphic, as shown in the sample within Figure 5, below.
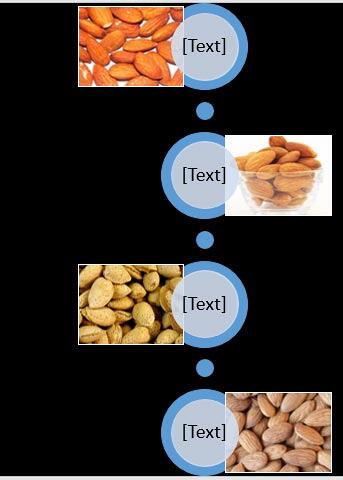
Figure 5: Multiple pictures converted to SmartArt - Now, you can continue editing this resulting SmartArt graphic using available SmartArt editing options.
- Save your presentation often.


