You can create a new Sway or
import existing files into Sway. Whatever option you choose, you customize your Sways
thereafter in the same way. There are many options that enable you to do so but in this tutorial we'll explore the Insert options that
Sway provides.
Make sure you first sign into your Sway account. Thereafter open an existing Sway or create a new
Sway, we choose and opened an existing Sway. Then follow these steps:
- With your Sway open, click the Insert option within the Menu bar, as shown highlighted in
red within Figure 1.
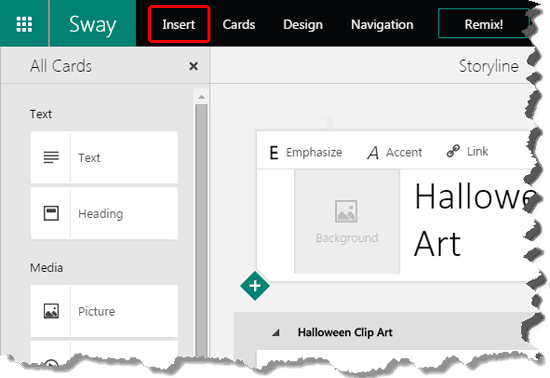
Figure 1: Insert option- This will show several insert options within the pane on the left side, as shown highlighted in red within Figure 2. Also notice that these are options that Sway intelligently suggests, as can be seen from the Suggested
option visible on the top left of this pane (highlighted in blue within Figure 2). Do notice that
there's also a downward pointing arrow next to the option labeled Suggested. This indicates that this is a drop-down list. We
will explore this drop-down list and other interface options later within this tutorial.
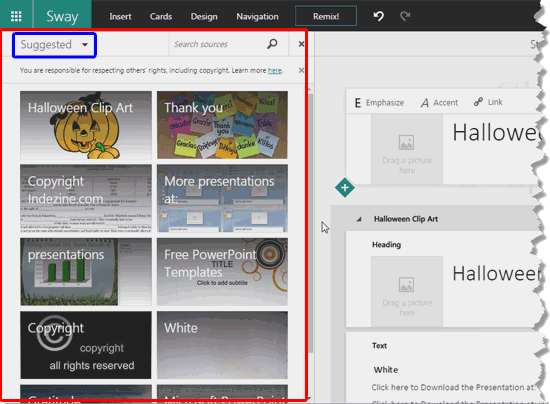
Figure 2: Pane with various insert options
- Figure 3 below shows a more zoomed in view of the areas within the pane of left side, which we will
explore next.
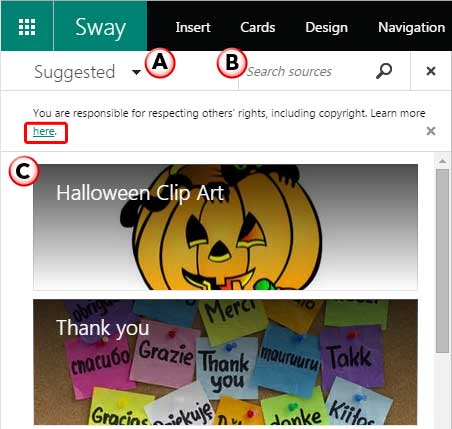
Figure 3: Sway suggestion based on the content - Options within this pane are explained below, as marked in Figure 3, above.
A. Suggested
- Click the downward pointing arrow to bring up the drop-down list, as shown in Figure 4. This list
has all the source sites from where you can get content and insert into your Sway. Choose the source from the list.
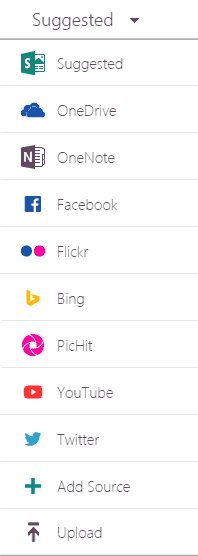
Figure 4: Suggested drop-down list
Note: Within the Suggested drop-down list, you will find some source options for which you are required to sign in. These
include services such as
OneDrive, OneNote, Facebook, and Flickr. If the source site in
not included within the list Sway has provided, you can sent a request to add the source site by clicking the
Add Source option.
Or use the
Upload option to add content.
B. Search Sources
- Once the source is selected, insert the keyword(s) you want to search for. In
Figure 5 below you can see that we chose Bing as the source and then entered "Halloween" as a keyword (highlighted in
red within Figure 5).

Figure 5: Bing search resultC. Result
- You will see the results based on the source you have selected and keyword(s) you have typed.
- Before opting to insert any search result, make sure you see the copyright licenses. Click the link highlighted in
red within Figure 3, shown earlier on this page to read more about the copyright.
- Once you have decided to insert a resulting file into your Sway, click on it. For this tutorial we selected the image on the top left
of the results, indicated by the tick mark, as shown highlighted in red within Figure 6. Then click the Add button, shown highlighted in blue within Figure 6.

Figure 6: Add selected file
- You can also add the selected item by dragging and dropping it onto the Card.
- In Figure 7, below you can see that the selected image is added within the Card area.
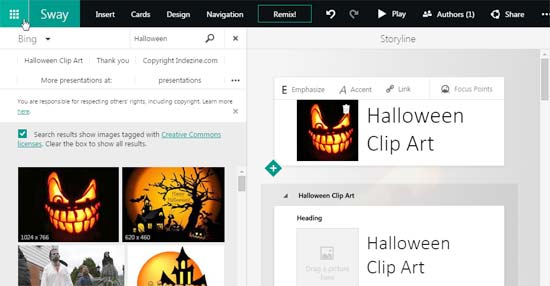
Figure 7: Selected image added


