Microsoft changes PowerPoint's capabilities through updates, and this feature may no longer be available within PowerPoint. This page is being maintained for historical reasons.
If you already have pictures that you want to add within your slides, you can just insert them quite easily. However, many times we just have an idea of the type of picture we want to insert, but we still do not have the actual pictures! And that's when PowerPoint's Clip Art task pane can help you. Not only does it allow you to search and insert pictures and illustrations, but it also provides videos and sounds. All of these can easily be inserted in your presentation. To learn more, follow these steps:
- Launch PowerPoint 2010 for Windows. Most of the time, PowerPoint already has a new slide. Change the layout of this slide to Title and Content by selecting the Home tab | Layout | Title and Content option. This results in the slide layout you see in Figure 1.
- Notice that this layout has a Content placeholder that lets you add bulleted text or any of the 6 different content types in the slide. These 6 content types are indicated by the 6 buttons located right in the center of the Content placeholder (see Figure 1). Click on the Clip Art button in the Content placeholder, shown highlighted in red within Figure 1.
Tip: A Content placeholder is a flexible placeholder on your slide that lets you add text, pictures, or any other content types. A Picture placeholder, on the other hand, lets you add just a picture. We use the Content placeholder in this tutorial.

Figure 1: Clip Art button within Content placeholder - Alternatively, if you want to add a picture on an existing slide that has no Content placeholder, you can select the Insert tab of the Ribbon, and click the Clip Art button (highlighted in red within Figure 2).
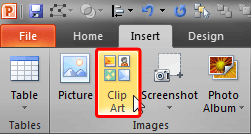
Figure 2: Clip Art button within the Insert tab Note: The Clip Art button (highlighted in red within Figure 2) is a toggle option. Click it once to summon the Clip Art Task Pane (highlighted in red within Figure 3). Click again, and it closes the same Task Pane.
- Either way, you will summon the Clip Art Task Pane, as shown highlighted in red within Figure 3.
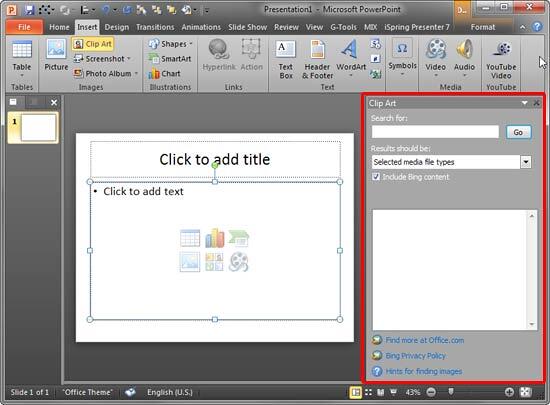
Figure 3: Clip Art Task Pane - Within the Clip Art Task Pane, enter your search keyword(s) in the Search for box (highlighted in red within Figure 4). Then click the Go button (highlighted in blue within Figure 4) to retrieve your search results, as shown in Figure 4. Remember that you must be connected online for this to work!
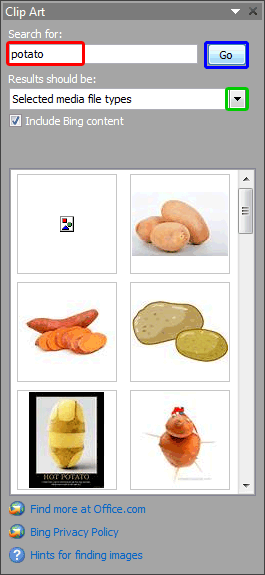
Figure 4: Search results for the keyword entered within Search for box - You can also click the Results should be down-arrow, shown highlighted in green within Figure 4, above. This brings up a drop-down list, as shown in Figure 5. Here make sure All media types check-box is selected.
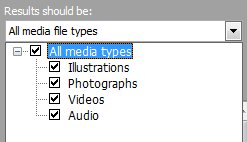
Figure 5: Results should be drop-down list - Now, from the search results choose the picture you want to insert. To do so, hover your cursor over your chosen picture to bring a Down Arrow button (shown highlighted in red within Figure 6). Along with the Down Arrow button, you also see a tool tip (shown highlighted in blue within Figure 6). The details shown in this tool tip are explained in our Understanding Clip Art Search Results in PowerPoint 2010 tutorial. For now, you can just click this down arrow button.
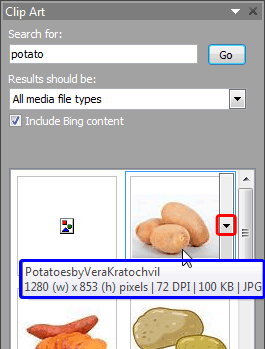
Figure 6: Picture chosen within the Clip Art Task Pane - This will bring up the contextual menu that you see in Figure 7. Here select the Insert option, as shown highlighted in red within Figure 7.
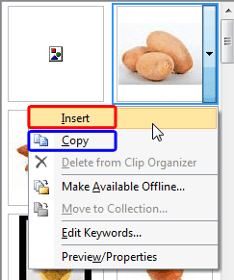
Figure 7: Insert option - Alternatively, you can double click on your chosen picture or just drag and drop on your slide. You can also click the Copy option, highlighted in blue within Figure 7 to copy the picture to the clipboard, and then press Ctrl+V on the Slide Area to insert the picture.
- Either way, this will place the picture into your PowerPoint slide, as shown in Figure 8.
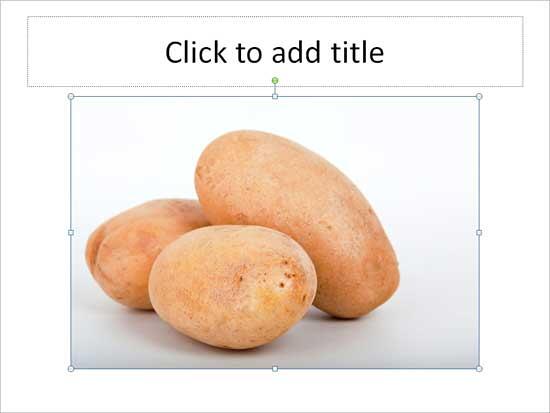
Figure 8: Picture taken from the Clip Art Task Pane inserted on the Slide - You can resize and reposition your picture as required.
- Save your presentation often.


