An Indezine reader asked if he could create three circles next to each other, and make sure that they appeared in a sequence similar to:
- The first circle should be filled-in full (entirely)
- The second circle should be half full
- The third and last circle should have no fill (empty)
The first and third circles are easy, all you need to do is ensure that the first circle has both an
Outline and a
Solid Fill applied, and
the third circle has only an Outline with No Fill.
The second circle (half circle) is an easy challenge that you will learn to create in this one page tutorial using
PowerPoint 2011 for Mac.
Follow these steps to get started:
- Launch PowerPoint 2011 Mac. You will see the
Presentation Gallery which
allows you to set all attributes of your new presentation, such as a preset Theme or template. Make selections or just click
Cancel in this gallery to open a blank presentation with a new slide. PowerPoint 2011 users can
change the slide layout of this slide to Blank by
selecting the Layout | Blank option within the Home tab of the
Ribbon.
- Within the Home tab of the Ribbon, locate the Insert group and click the
Shape button to access the Shape gallery with different types of shape options that you can see in Figure 1.
Select the Basic Shapes option to access the related sub-menu. Select the Oval shape in this sub-menu—you can see the
tool tip displaying the selected shape's name "Oval", as shown in Figure 1.
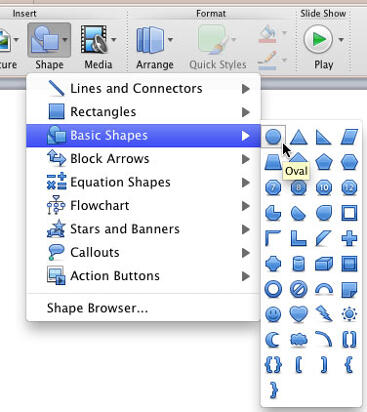
Figure 1: Oval shape selected in the Basic Shapes sub-menu of the Shape gallery- Click once on the blank slide to
place an instance of the shape as a perfect circle
(see Figure 2).
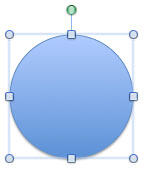
Figure 2: Oval Shape placed on the slide as perfect circle- Duplicate the circle to
make two more copies of it as shown in Figure 3.

Figure 3: Three circles with the default shape attributes- Select all three circles, and
increase the thickness of their
Outlines. You can also change the line color
as well as the fill color. Your circles
will look somewhat similar to what you can see in Figure 4.

Figure 4: Circles with thick outline and solid fill color- Select the second and third circles, and format their fill attribute to
No Fill, as shown in
Figure 5.
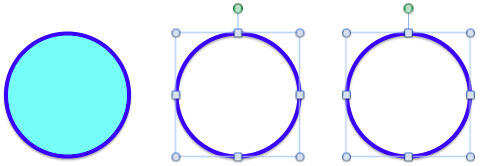
Figure 5: 2nd and 3rd circles with fill removed - Now create a semi-circle on a new slide, as shown in our
Creating a Semi-Circle in PowerPoint 2011 for Mac tutorial.
Make sure that you place the Pie shape (explained in the link provided) on your slide by clicking once rather than dragging and drawing ,
this will ensure that your finished semi-circle is the same size as your circles.
- Copy the shape attributes of the first circle and apply them to the new semi-circle using the
Format Painter. Then, set the outline for this
semi-circle to No Outline. Copy this
semi-circle and paste it on the slide that contains your three circles. Move or nudge (press the arrow keys on your keyboard) the semi-circle to
place it above the second circle so that it looks like what you can see in Figure 6.
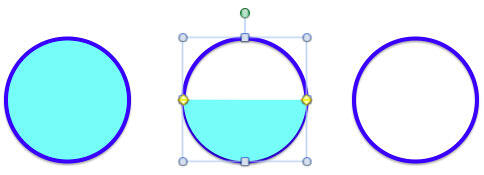
Figure 6: Paste semi-circle on the second circle- Now carefully select the pasted semi-circle, right-click and choose Arrange | Send Back, as shown in
Figure 7.
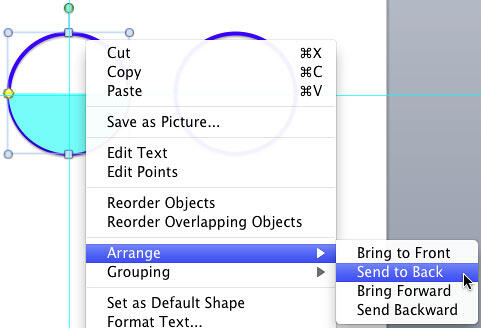
Figure 7: Send the semi-circle backward- Now the semi-circle will be placed behind the full circle, and looks like a half circle, as shown in
Figure 8 (circle in the middle).

Figure 8: Full, half and empty circles placed in a sequence- Once done, save your presentation.


