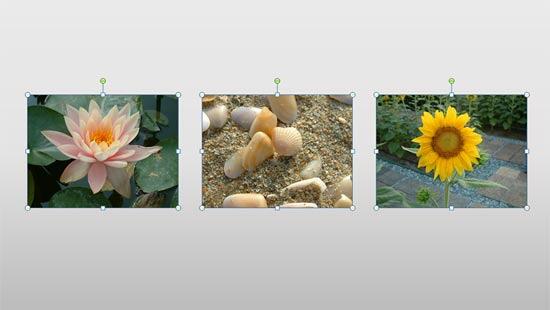
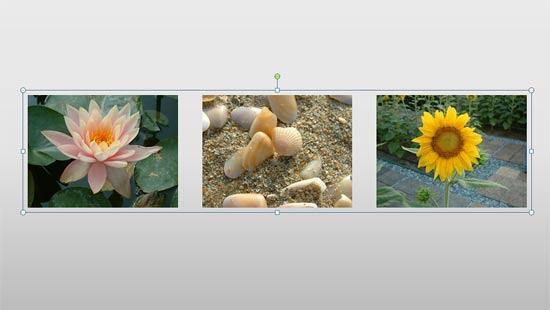
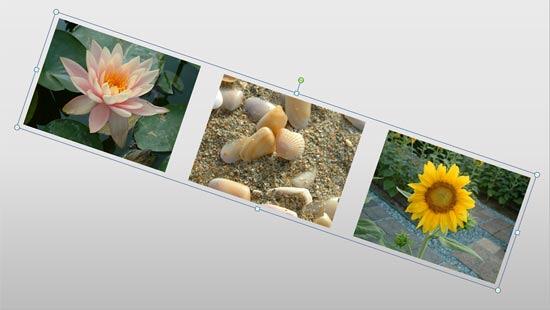
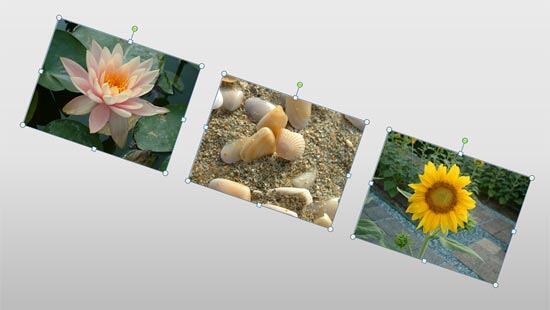
Learn how to group and ungroup pictures in PowerPoint 2013 for Windows. Grouping allows you to use multiple pictures as one object.
Author: Geetesh Bajaj
Product/Version: PowerPoint 2013 for Windows
OS: Microsoft Windows 7 and higher
PowerPoint 2013 for Windows has no limitations to the number of slide objects you can add within the Slide Area. Be it shapes, multiple pictures, or any other slide objects, you can add them all. When you add multiple pictures on the slide you may end up placing them in a haphazard manner and pictures of different sizes may be scattered all over the slide. It is a good idea to arrange them all properly to get a more aesthetic looking layout.
In previous tutorials we have explored techniques that help you arrange your pictures and other content. Look at our Resize, Rotate, and Flip Pictures and Align and Distribute Pictures tutorials. Moving ahead in the same direction, this tutorial explores how you can group pictures on your slide.
Grouping pictures can be helpful in various scenarios. You may want to resize or rotate all pictures, rather than rotate them individually. To do so, you can group them and thereafter rotate.
Follow these steps to learn more in PowerPoint 2013 for Windows:


Do you want more keyboard shortcuts?
Explore our PowerPoint Keyboard Shortcuts and Sequences Ebook that is updated for all PowerPoint versions.


See Also:
Pictures - Position and Order: Group Pictures (Glossary Page)
Group Pictures in PowerPoint 2011 for Mac
Group Pictures in PowerPoint 2010 for Windows
You May Also Like: Add Humor to Your Presentation | Uganda Flags and Maps PowerPoint Templates

Microsoft and the Office logo are trademarks or registered trademarks of Microsoft Corporation in the United States and/or other countries.