Photoshop is often to go-to program for creating quick slide backgrounds for use in PowerPoint. That's because Photoshop is full of amazing options that make creating backgrounds easy. We already explored the Reticulation effect. As in that case, you must understand that your slide backgrounds need to remain in the "background", which means you must never use complicated, busy, and colorful backgrounds. The Gaussian Blur effect that we will explore today lets you create simple, uncomplicated backgrounds.
Photoshop's Learning Curve?
Photoshop does have a learning curve. However, if you follow all instructions on this page, you can easily create blurred backgrounds for PowerPoint within Photoshop. Yes, this article does assume some familiarity with the Photoshop interface. You can find links to Photoshop resources on our Adobe Photoshop page.
Do note that we have no recommendations for any specific version of Photoshop. For this tutorial, we did however use Photoshop CS6 for the screen shots you see on this page:
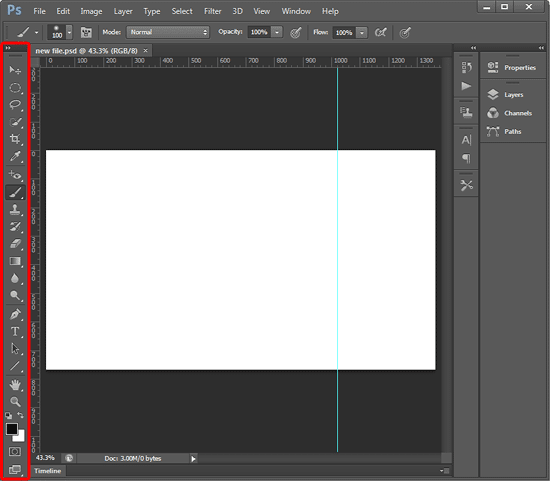
- Make sure you use the proper Photoshop template for creating PowerPoint slide backgrounds. Also make sure that the background is set to white, as shown in Figure 1, below.

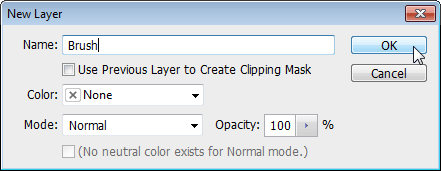
Figure 1: Blank document opened within Photoshop - Now, create a new layer above this white layer by choosing the Layer | New Layer menu option. You will then see the New Layer window, as shown in Figure 2, below.

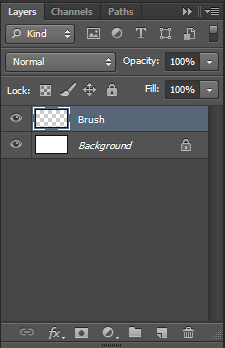
Figure 2: Add a new layer - Type in a name for this new layer. We called this layer Brush, as shown in Figure 2, above and clicked the OK button. This action will add the new Brush layer within the Layers palette, as shown in Figure 3, below.

Figure 3: New layer added within the Layers palette - Now, explore the Tools palette in Photoshop, as shown highlighted in
red within Figure 1, shown previously on this page. At the bottom of the Tools palette, you will find the Foreground and Background color swatches, as shown in Figure 4, below.

Figure 4: Foreground and Background color swatches - Access the Swatches palette by choosing the Window |
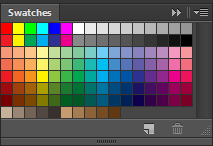
Swatches menu option. Doing so brings up the Swatches palette, as shown in Figure 5, below.

Figure 5: Swatches palette Toggle Option
- If the Swatches palette is already visible, then choosing the Window | Swatches menu option will hide it!
- Change the foreground color to whatever you want by clicking on any of the swatches in the Swatches palette. In Figure 6, below, you can see we chose Lilac as the Foreground color.

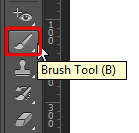
Figure 6: Foreground color changed - Now, click the Brush tool within the Tools palette, as shown highlighted in red within Figure 7, below.

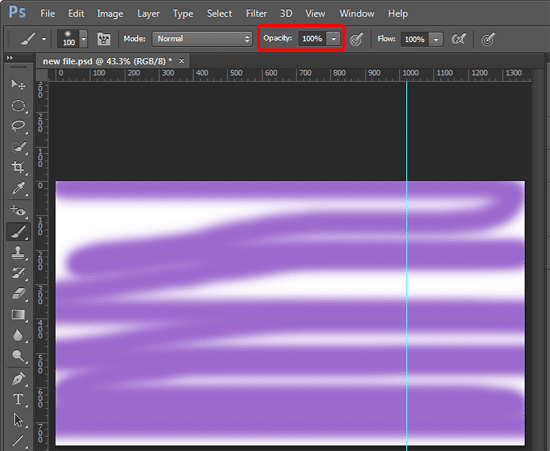
Figure 7: Brush tool - Doodle anything on the new layer you created. In Figure 8 below, you can see we have drawn some lines. If your brush stroke is too thin, you can press the Close Bracket ( ] ) key to increase the size of the brush stroke. Similarly the Open Bracket ( [ ) key decreases the brush size.

Figure 8: Draw on the new layer created
Change Brush Opacity
- You can also change the opacity of your brush stroke by typing in a new Opacity value within the Properties bar, as shown highlighted in red within Figure 8, above.
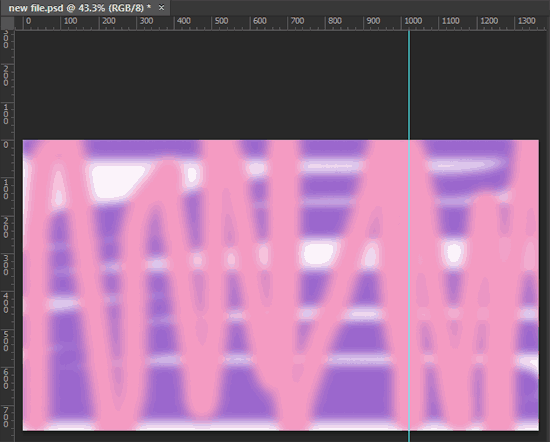
- Now, change the foreground color. Choose a color from the Swatches palette that is not too different from the color you chose first. We chose a color that was a lighter variation of the original color. We then doodled some more random lines, as shown in Figure 9, below.

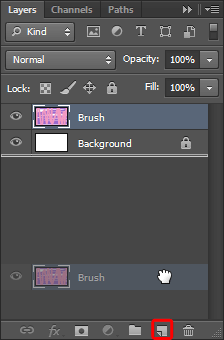
Figure 9: Doodled with different color - Now, within the Layers palette, duplicate the Brush layer by dragging it to the Duplicate icon, as shown highlighted in red within Figure 10, below.

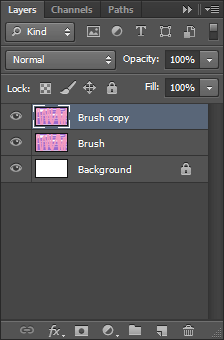
Figure 10: Drag the layer to duplicate - Now, this layer gets duplicated, as shown in Figure 11, below.

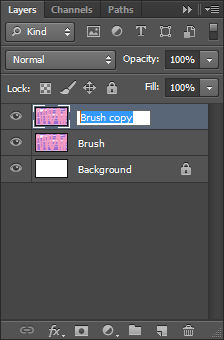
Figure 11: Layer has been duplicated - Now, select the Layer | Rename Layer menu option. This step enables you to rename the layer, as shown in Figure 12, below.

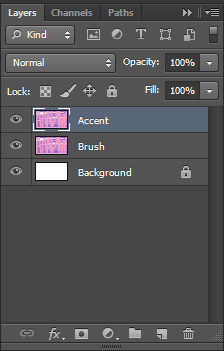
Figure 12: Rename the layer - Just type in the new name for this new layer. We called it Accent, as shown in Figure 13, below.

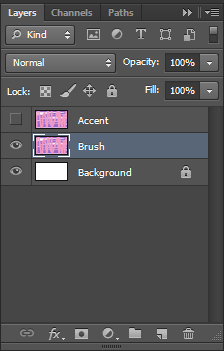
Figure 13: Layer renamed - Thereafter, hide this new Accent layer by clicking the eye icon to its left. This will hide the icon as well as the layer, as shown in Figure 14, below. Make sure you now select the layer named Brush.

Figure 14: Hide the Accent layer Tip:
- Click the Eye icon area again to unhide this layer! All hidden layers do not show in the editing window.
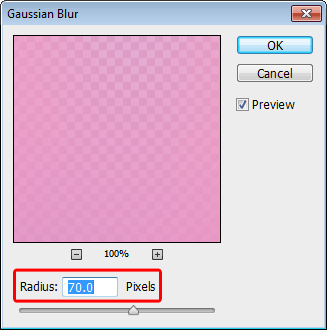
- Now, access the Filter | Blur | Gaussian Blur menu option. Doing so opens the Gaussian Blur dialog box, as shown in Figure 15, below. Within the Gaussian Blur dialog box, choose a Radius value of about 70 pixels, as shown highlighted in red within Figure 15. Increase or decrease the Radius value until the Preview area appears washed out.

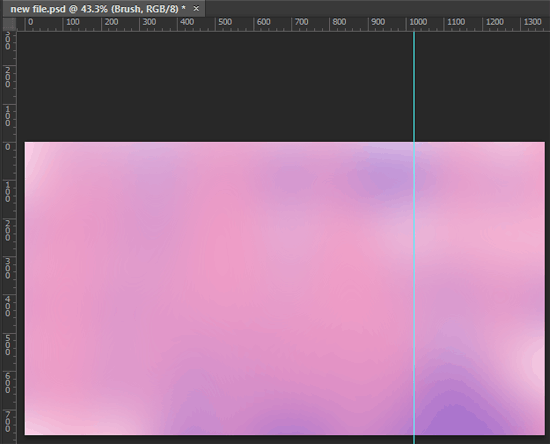
Figure 15: Gaussian Blur dialog box - Once done, click the OK button to apply the Gaussian Blur effect to the Brush layer. Figure 16, below shows the Gaussian blur effect applied to the layer.

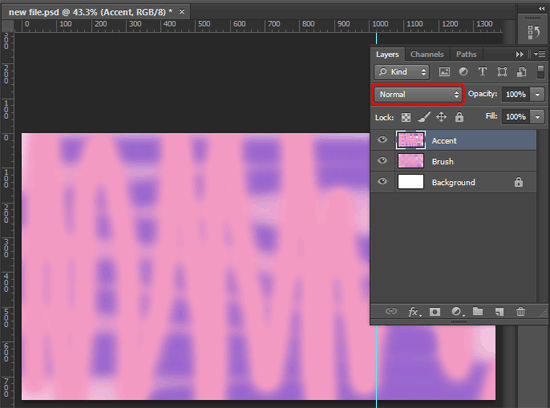
Figure 16: Gaussian blur effect applied to the layer - Now, make the Accent layer visible, as shown in Figure 17 by clicking on the eye icon. You have now covered the Brush layer beneath that had the Gaussian Blur effect. Even though you cannot see that layer, don't worry because we are next going to blend the Brush and Accent layers. To do so, first click on the Blending Mode drop-down list, as shown highligted in red within Figure 17, below.

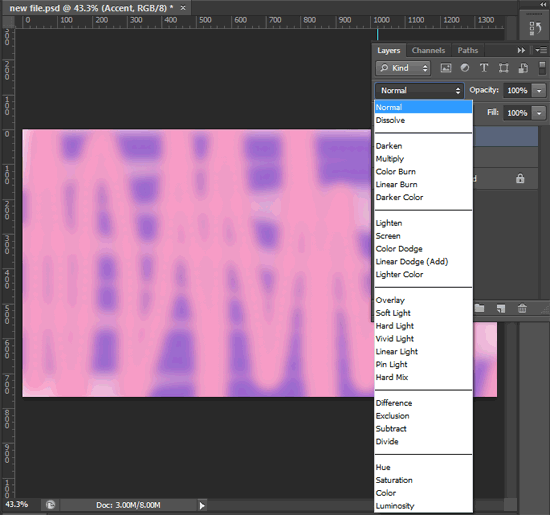
Figure 17: Accent layer made visible - Doing so will reveal all Blending Modes, as shown in Figure 18, below. Note that these Blending Modes will interact with the layer below to provide amazing effects.

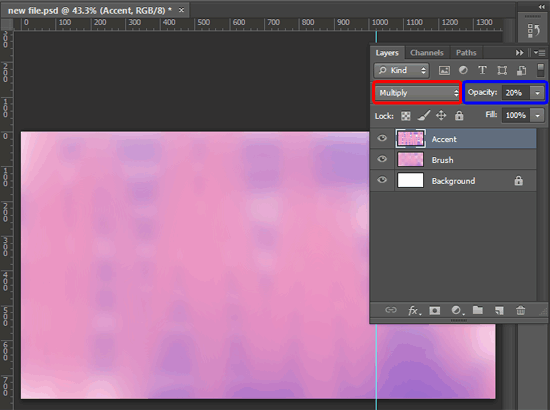
Figure 18: Blending Modes - For this tutorial, we chose the Multiply Blending Mode, as shown highlighted in red within Figure 19, below. We then changed the opacity of the layer to 20%, as shown highlighted in blue within Figure 19.

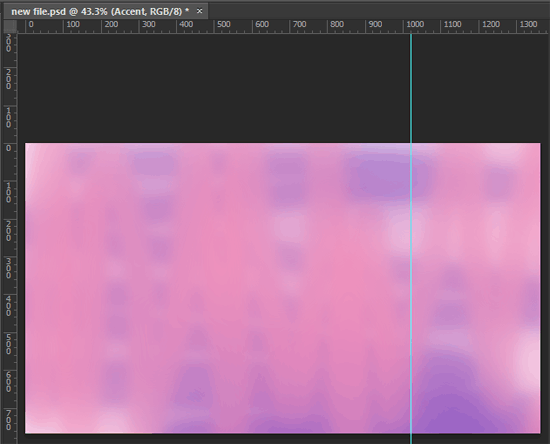
Figure 19: Choose blending mode and transparency - We now end up with the final result, as shown in Figure 20, below.

Figure 20: Backgrounds created with Gaussian blur effect - Make sure to save the picture with a different name. You can also use Photoshop's Save for Web option, as explained towards the end in our Creating Slide Backgrounds in Photoshop for PowerPoint tutorial.
See Also: Photoshop TIFFs for PowerPoint
