Text in PowerPoint presentations needs to be edited in many ways. Sometimes, you need certain words to be in a different color, or bold, italicized, or underlined. Whatever the option required to format your text, you'll find that the Mini Toolbar is an excellent location to do these changes quickly. It really saves you from dragging your cursor repeatedly to the Ribbon area since it pops up right next to the selected text that you want to format.
Follow these steps to explore more in PowerPoint 2013 for Windows:
- Navigate to any slide in your presentation that has some text content, as shown in Figure 1, below.
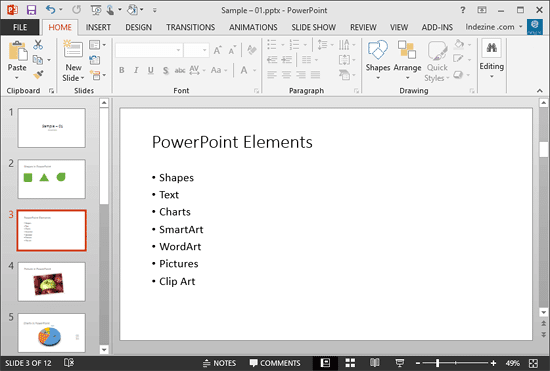
Figure 1: Open presentation with a textual slide- Click inside the text placeholder and select the text by dragging the cursor across a line of text (see Figure 2). Explore our Selecting and Changing Text tutorial to learn more about text selection techniques.
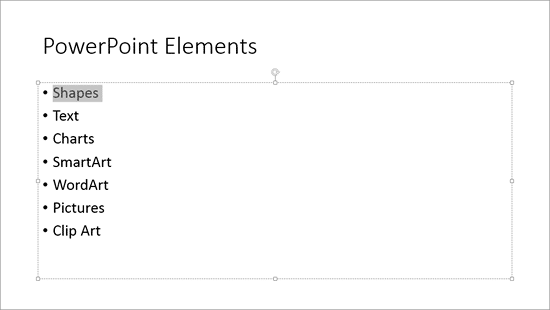
Figure 2: Text selected within the text placeholder - This just brings up the Mini Toolbar, as shown highlighted in red within Figure 3, below.
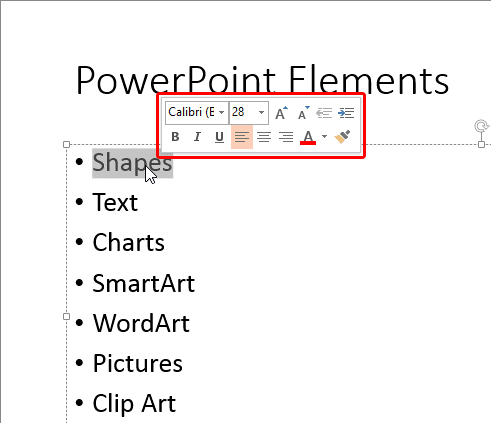
Figure 3: Mini toolbar appears when text is selected - Alternatively, right-click the selected text to open the context menu, as shown in Figure 4. Just above this context menu, you will find the Mini Toolbar (highlighted in red within Figure 4). This small interface is chock-a-block with text
formatting options.
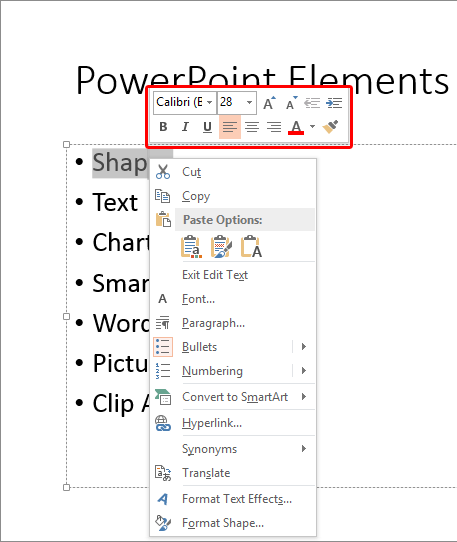
Figure 4: Mini toolbar above contextual menu - All options within the Mini Toolbar are exactly same as the ones you encounter in the Font and Paragraph groups on the Home tab of the Ribbon. It's just that having access to all these options next to your selected text saves your wrist from the wear and tear of scrolling to the Ribbon!
- Figure 5, below shows all the options within the Mini Toolbar.
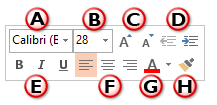
Figure 5: Text formatting options within Mini toolbar - The text formatting options within the Mini Toolbar are explained below, as marked in Figure 5, above:
A. Font
- Click the down arrow to the right of the font name to open the drop-down font list, and select a new font. You can also type the first few characters of a font name right within the box to access a font quickly. For example, you can type "Ver" to get to Verdana quickly.
B. Font Size
- Click to get a drop-down list of font sizes. You can also type a new point size in the size text box.
C. Increase Font Size/Decrease Font Size
- Use these options to increase or decrease the font size respectively.
D. Decrease List Level/Increase List Level
- Use the Decrease List Level (Promote) to convert selected text to a higher indented level in the list. Similarly, use the Increase List Level (Demote) to convert selected text to a lower indented level.
E. Font Style
- Choose to make your selected text Bold, Italic, and Underline. These are toggle buttons, so if your text is already bold, then clicking the Bold button will unbold it. Italics and Underline works in the same way.
F. Align Text
- Align the selected text to Left, Center, or Right.
G. Font Color
- Changes the font color. Click the down arrow next to the button to bring up a Color gallery to get more choices for font color.
H. Format Painter
- Copies the text attributes from the selected text or text container (text placeholder, text box, or shape). But, if you use Format Painter on a text container having different text attributes, it copies the formatting of only the first word in that text container. Learn more about Copying Text Attributes With Format Painter in PowerPoint 2013 for Windows.


