Explore the Format Ribbon tab for audio clips in PowerPoint 2013 for Windows. These options relate to the visual format of the sound icon.
Author: Geetesh Bajaj
Product/Version: PowerPoint 2013 for Windows
OS: Microsoft Windows 7 and higher
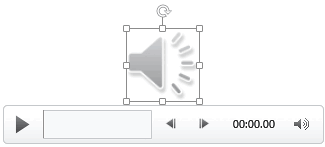
Insert an audio clip on your PowerPoint slide, you see a sound icon that represents the audio clip, as shown in Figure 1, below. Of course, it rarely matters what the icon looks like if you have set your audio clip to play automatically. However, if you actually plan to click on this picture to play your audio clip. Then you might want to use another picture instead.

Figure 1: A sound icon on the slide represents the audio clip
The reason why you would use a picture that is different than a sound icon is because you may want to use a picture related to the audio clip. Here are some scenarios:
When you select an inserted audio clip in PowerPoint 2013 for Windows, you see two contextual tabs. Format and Playback, as shown highlighted in red within Figure 2, below.

Figure 2: Contextual tabs for an audio clip
The Audio Tools Format and Audio Tools Playback tabs are Contextual tabs. Contextual tabs are special tabs in the Ribbon that are not visible all the time. They only make an appearance when you are working with a particular slide object which can be edited using special options.
In this tutorial, we will explore the Format tab. Once you explore options within the Format tab, you'll wonder why there are options to adjust, arrange, resize, and apply picture styles. Now why does PowerPoint provide picture format options for an audio clip? That's because an audio clip is represented by a picture, as shown in Figure 1, previously on this page. Note that the Player Controls bar is activated when you select the sound icon. Note that this Player Controls bar is not part of the picture.
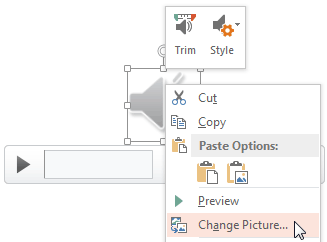
By default PowerPoint provides a sound icon for the audio clip. You can select this sound icon and use the picture format options provided within the Audio Tools Format tab. Or else you can also change this sound icon to any other picture. To do so, right-click the sound icon. From the resultant context menu, choose the Change Picture option, as shown in Figure 3, below. Thereafter choose any picture of your choice.

Figure 3: Change Picture option selected
This option is more completely explained in our Change Picture in PowerPoint 2013 tutorial.
Before changing the default picture, make sure you first resize the current picture to a larger size since PowerPoint will replace the picture while retaining its proportions. Resizing the picture larger thereafter may result in a lower quality picture.
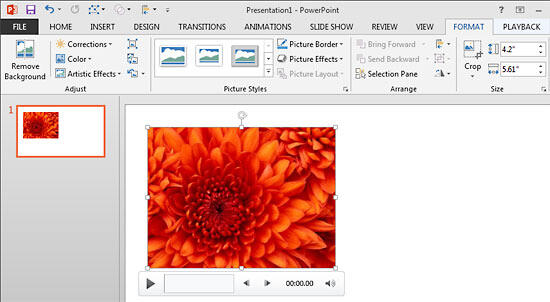
Doing so replaces the default audio picture with the picture of your choice as shown in Figure 4, below. Once the picture is changed, navigate to the Audio Tools Format tab. The options within this tab are categorized into four groups, as shown in Figure 4.

Figure 4: Changed picture for audio clip
Follow these steps to understand options within the Audio Tools Format tab in PowerPoint 2013 for Windows:
14 11 04 - Audio in PowerPoint - Advanced: Format Tab for Audio Clips in PowerPoint (Glossary Page)
Format Tab for Audio Clips in PowerPoint 2016 for Windows
Format Tab for Audio Clips in PowerPoint 2010 for Windows
You May Also Like: Beyond Bullet Points 4th Edition: Conversation with Cliff Atkinson | Pets PowerPoint Templates


Microsoft and the Office logo are trademarks or registered trademarks of Microsoft Corporation in the United States and/or other countries.