First of all, why would you need to highlight text? One answer could be that you want to emphasize some important words or
phrases within your slide. There is no ready to use tool within PowerPoint, on both Windows and Mac versions. At least within
the Windows versions such as
PowerPoint 2013, you can use Word's highlighting
options as a workaround, but this workaround does not work with
PowerPoint 2011 for Mac. So, we will use fake highlighting for the
text, which also works extremely well.
Follow these steps to learn how to fake highlight a text within
PowerPoint 2011 for Mac:
- Access the slide that contains the text that you want to highlight. In Figure 1, below you can see a slide
with text. We will highlight the first paragraph.

Figure 1: Text on the slide
- Now, insert a thin and long Rectangle shape.
Insert in such a way that it covers the first line of the paragraph. In Figure 2, below you can see that
a Rectangle is being drawn.
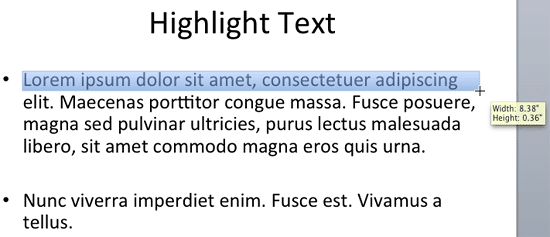
Figure 2: Rectangle being drawn
- Once the Rectangle is placed, change its
fill to a solid color that you
want to use as highlight color,
remove the outline from the
shape, and also remove any
shadow effect. Once done,
right-click (or Ctrl + click) the Rectangle shape to bring up the contextual menu, as shown in
Figure 3. Here choose the Format Shape option.

Figure 3: Format Shape option
- This opens the Format Shape dialog box, as shown in Figure 4. Here reduce the solid fill
Transparency to 50%, as shown highlighted in red within Figure 4, below. Once done,
click the OK button to get back to your slide.
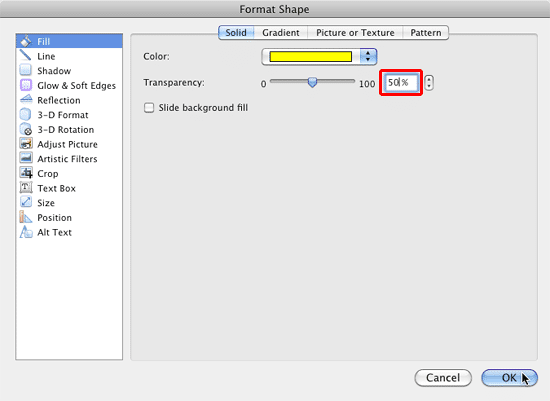
Figure 4: Format Shape dialog box
- You'll get the result, as shown in Figure 5.
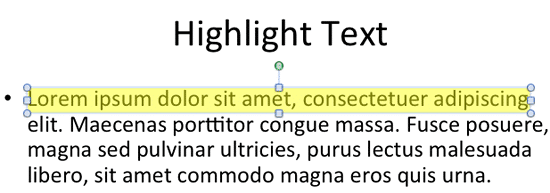
Figure 5: Result after applying Transparency to 50%
- Now select the first rectangle shape and
create copies so that you get a
result like shown in Figure 6. Also
resize the individual Rectangle shape so
that they cover up the entire text within the line (refer to Figure 6, again).
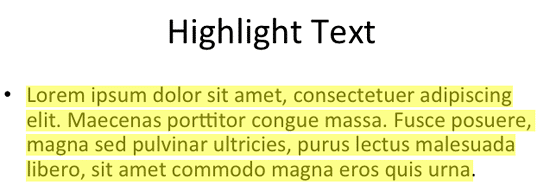
Figure 6: Copies created for Rectangle
Note: If you notice, we made the Rectangles thin enough height-wise so that we ended up with
spaces in-between the lines! This is not mandatory, and you can create thicker Rectangles that do not result in
such white space.
- Once the copies are created, you can optionally discard the Transparency and bring all the Rectangles back to 0%
Transparency. Select all the Rectangle shapes and right-click (or Ctrl + click)
to bring up the contextual menu. Within the contextual menu, choose Arrange | Send to Back option, as shown in
Figure 7. Learn more in our
Reorder Slide Objects in PowerPoint 2011 for
Mac tutorial.

Figure 7: Send to Back option
- This will send the shapes behind the text, providing an illusion of the text being highlighted, as shown in
Figure 8.
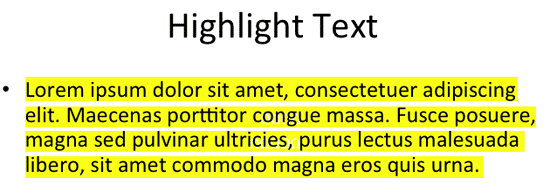
Figure 8: Fake highlighted text - Save your presentation often.


