Although most people think of PowerPoint as a slide program, it's also a great drawing program that can in many ways be more easier to use than
full-fledged illustration programs. Agreed, PowerPoint is not that full-featured as far as drawing goes, but sometimes quick and easy is all you
need! In this tutorial, you will learn how to draw a tree with just two simple shapes in PowerPoint 2013:
- Launch PowerPoint 2013 -- within the
Presentation Gallery, select the Blank Presentation
option. PowerPoint will open a new slide -- you can change the slide layout
to Blank by selecting the Home tab | Layout | Blank option.
- Select the Insert tab (or Home tab) of the
Ribbon and click the Shapes button. This opens the
Shapes drop-down gallery that you can see in Figure 1. Within Shapes drop-down gallery, select the
Rectangle shape (highlighted in red within Figure 1).
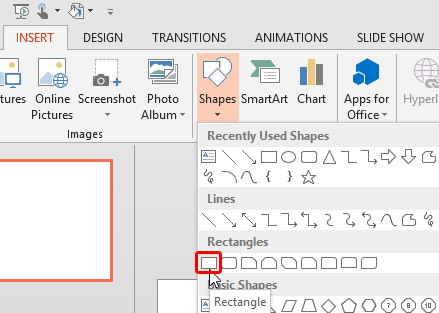
Figure 1: Rectangle shape selected within Shapes drop-down gallery- Place the cursor on your slide and click once to insert a Rectangle. Now,
resize it into a vertical rectangle which looks fairly like the trunk of a tree (see
Figure 2).

Figure 2: Rectangle shape resized to match the trunk of a tree- Now, open the Shapes drop-down gallery once again and select the Cloud shape as shown highlighted in
red within Figure 3.
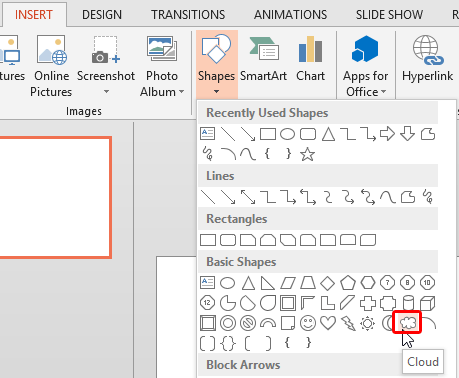
Figure 3: Cloud shape selected within Shapes drop-down gallery- Place the cursor on the top of the tree trunk you just created, and click once to place a cloud shape -- you'll notice that the cloud looks like
the top part of a tree! Resize it so that the resulting drawing looks like a tree, as
shown in Figure 4.
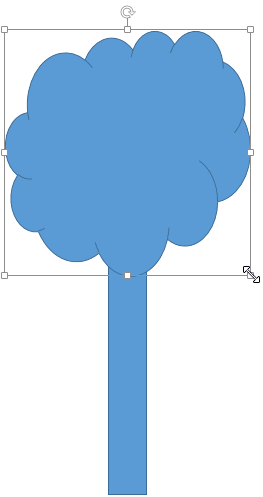
Figure 4: A rectangle and a cloud is all you need to draw a tree- Now, change the fill color of the
trunk to brown and that of the top-of-the-tree to green, as shown in Figure 5.
- [an error occurred while processing this directive]
Figure 5: Fill colors of the shapes changed to match a tree
- After changing the fill colors, group both the shapes. Now you can
remove outline from both the shapes in the group. Your tree drawing is now ready,
as you can see in Figure 6.

Figure 6: Tree drawing is ready after removing outlines- Save your presentation often.
Tip: Try using different shapes other than the cloud to create other types of trees -- you can use any of the triangles, and use the oval tool to
create circles, ovals, and even thin Popsicle like top-of-the-tree green shapes. You can also combine multiple triangles to create a conifer tree (see
Figure 7).
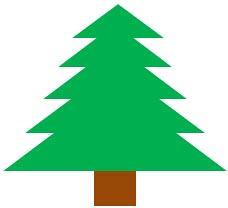
Figure 7: Conifer tree drawn using rectangle and triangle shapes
Sample PowerPoint Presentation
Click below to view on SlideShare


