Indezine Logo


Drawing Trees in PowerPoint 2011 for Mac

Learn how to use default shapes to draw a quick tree in PowerPoint 2011 for Mac. Following this tutorial will help you create other simple shapes easily in PowerPoint by combining existing shapes.


Author:

Product/Version: PowerPoint 2011 for Mac

OS: Mac OS X


Learn PowerPoint

How can I import multiple images at once into my PowerPoint presentation?


Even though PowerPoint has been considered as a slide program, it is also a great drawing program that can in many ways be more easier to use than full-fledged illustration programs. Agreed, PowerPoint is not that full-featured as far as drawing goes, but sometimes quick and easy is all you need! In this tutorial, you will learn how to draw a tree with just two simple shapes in PowerPoint 2011:

  1. Create a new presentation, or just add a new slide to any existing presentation. Make sure that it uses either the Blank or Title Only slide layout (see the tutorial Changing Slide Layouts in PowerPoint 2011).
  2. Within the Home tab of the Ribbon, click the Shape button to open the Shape gallery that you can see in Figure 1. In this gallery, select the Rectangles category, and from the sub-gallery which appears, select the Rectangle shape (refer to Figure 1 again).
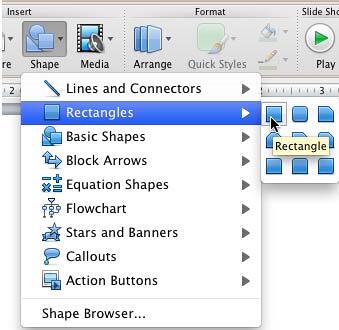
  3. Rectangle shape selected within Rectangles sub-gallery
    Figure 1: Rectangle shape selected within Rectangles sub-gallery
  4. Place the cursor on your slide and click once to insert a Rectangle (actually a Square). Now, resize it into a vertical rectangle which looks fairly like the trunk of a tree (see Figure 2).
  5. Rectangle shape resized to match the trunk of a tree
    Figure 2: Rectangle shape resized to match the trunk of a tree
  6. Now, open the Shape gallery once again and select the Basic Shapes category, and from the Basic Shapes sub-gallery, elect the Cloud shape as shown in Figure 3.
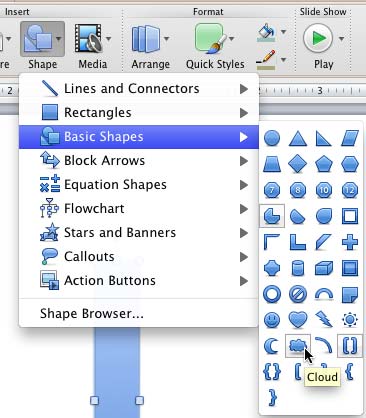
  7. Cloud shape selected within Basic Shapes sub-gallery
    Figure 3: Cloud shape selected within Basic Shapes sub-gallery
  8. Place the cursor on the top of the tree trunk you just created, and click once to place a cloud shape -- you'll notice that the cloud looks like the top part of a tree! Resize it so that the resulting drawing looks like a tree, as shown in Figure 4.
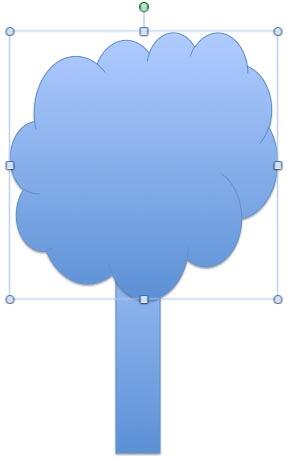
  9. A Rectangle and a Cloud is all you need to draw a tree
    Figure 4: A Rectangle and a Cloud is all you need to draw a tree
  10. Now, change the fill color of the trunk to brown and that of the top-of-the-tree to green, as shown in Figure 5.
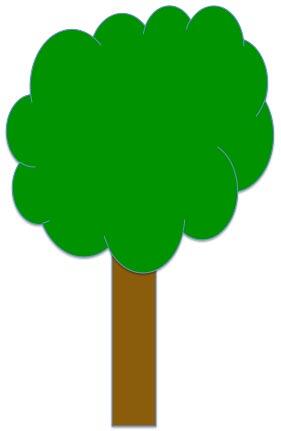
  11. Fill colors of the shapes changed to match a tree
    Figure 5: Fill colors of the shapes changed to match a tree
  12. After changing the fill colors, group both the shapes. Now you can remove outline from both the shapes in the group. Your tree drawing is now ready, as you can see in Figure 6.
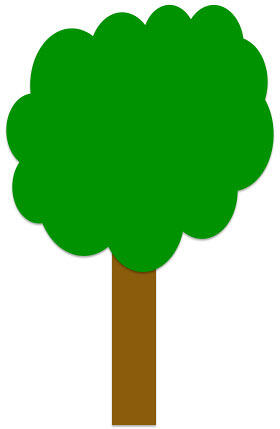
  13. Tree drawing is ready after removing outlines
    Figure 6: Tree drawing is ready after removing outlines
  14. Save your presentation often.
Tip: Try using different shapes other than the cloud to create other types of trees -- you can use any of the triangles, and use the oval shape to create circles, ovals, and even thin Popsicle like top-of-the-tree green shapes. You can also unite multiple triangles to create green top portion of a conifer tree (see Figure 7).
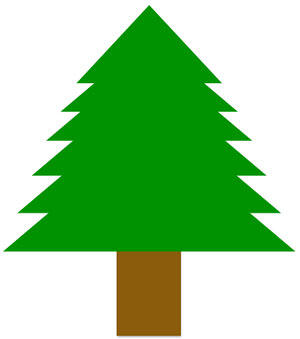
Conifer tree drawn using rectangle and triangle shapes
Figure 7: Conifer tree drawn using rectangle and triangle shapes

Sample PowerPoint Presentation

Click below to view on Slideshare


See Also:

Drawing Trees in PowerPoint 2013 for Windows
Drawing Trees in PowerPoint 2010 for Windows

You May Also Like: In PowerPoint, Fonts Matter | Armenia Flags and Maps PowerPoint Templates


Popular Posts

Playing Video Across Slides in PowerPoint 2016 for Windows
Play a video clip across slides in PowerPoint 2016 for Windows.

Set Document Resolution in PowerPoint 2016 for Windows
Learn how to set document resolution in PowerPoint 2016 for Windows.

Creating Anchor Points for Connectors in PowerPoint 2010 for Windows
Learn how to create Anchor Points for connectors in PowerPoint 2010.

Working With Slide Numbers in PowerPoint 2016 for Windows
Learn how to add Slide Numbers on slides and Masters and more tricks on making them work to your will in PowerPoint 2016 for Windows.


Organic Shapes with Brush Edges

You get 8 shape types plus lines as part of this Organic Shapes collection. Each of these 8 shape types have 10 variants. So you end up with 80 hand-drawn shape options! Again each of these 80 shapes have 12 brush stroke styles! Plus you get the lines and arrows in 12 brush stroke styles too. Combine all variations to end up with more than 3000 possibilities.

Buy and Download for $99+ (83 MB)


Microsoft and the Office logo are trademarks or registered trademarks of Microsoft Corporation in the United States and/or other countries.

Home | PowerPoint | Photoshop | PowerPoint Templates | PowerPoint Tutorials | Blog | Notes | Ezine | Media Kit | Feedback | Site Map | About Us | Contact Us

Link to Us | Privacy | Testimonials

PowerPoint Backgrounds | Christian PowerPoint Backgrounds | Business PowerPoint Presentation Templates

Plagiarism will be detected by Copyscape

©2000-2023, . All rights reserved.