One of the most frequently asked questions in the PowerPoint forums is about having access to a map of the United States of America on a slide that has each state available as a separate selectable shape.
In this tutorial, you'll learn how to:
- First, download a suitable map clip art file from Microsoft Office.com website
- Then, insert the map within a slide in PowerPoint
- Finally, use PowerPoint's ungroup tools to break it apart into selectable shapes that denote individual states
If you want to know how you can do it yourself, follow these steps to get started:
- Launch the Microsoft Office site in your browser, as shown in Figure 1 below.
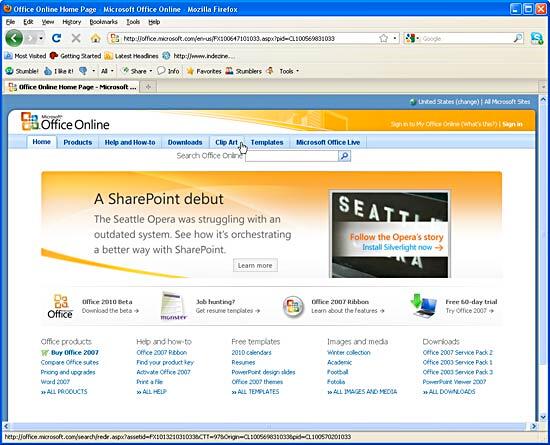
Figure 1: Microsoft Office home page - From the tabs on this page, choose Clip Art (refer to Figure 1)
- Within the Clip Art tab, enter the keyword (USA Map) in the search box, and click the downward arrow button next to the search button to choose "Clip art", as shown in Figure 2.
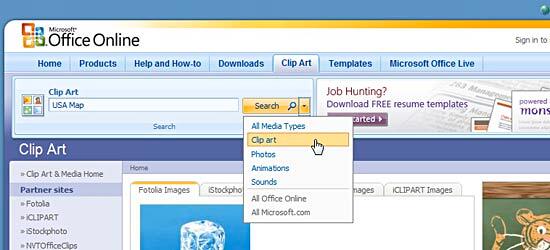
Figure 2: Clip Art Search Tip: Searching within the Clip Art type enables you to mainly get
vector files that can be ungrouped in PowerPoint.
- Based on the keyword and the type of file, you'll get the search result in the next page that you can see in Figure 3.
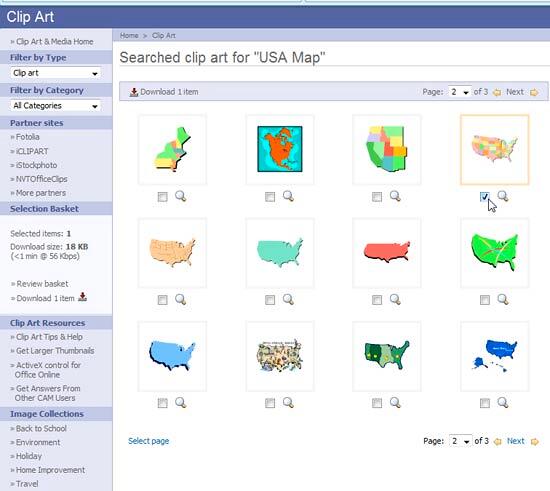
Figure 3: Search Result - Look for maps that have state outlines visible. From the search result select an appropriate WMF or EMF file (place your cursor over the thumbnail and you'll know if it is a WMF or EMF file. Avoid JPEG, PNG, or GIF files in this case). You can click the box under the thumbnail to select it for subsequent download. Figure 3 shows how we selected one of the files to download (mp00224_.wmf).
- You can select as many files as you want. When done, click the Download option (highlighted in red) as shown in Figure 4.
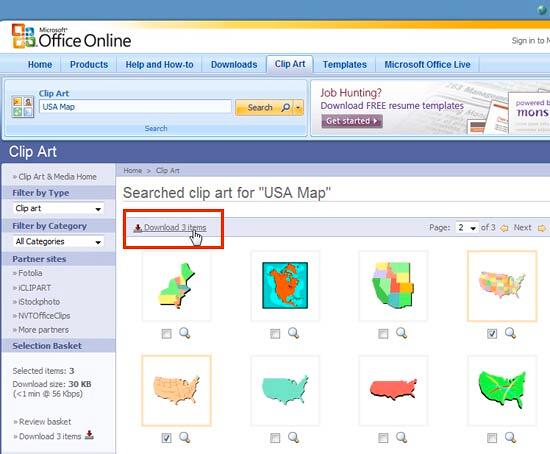
Figure 4: Download Selected Files Note: If you are downloading for the first time from the Office.com site, you might get an Agreement page that makes you click an Accept button to proceed.
- This opens the Download page (see Figure 5). Here, you get the details such as download size, download time, etc. Just click the Download Now button (highlighted in red) to start the download process.
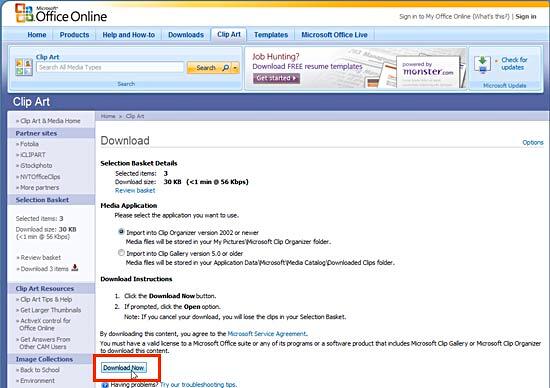
Figure 5: Download Now - Clicking the Download Now button in the preceding step opens your browser's Save dialog box as shown in Figure 6. Your browser may show a different dialog box. In that case, look out for an opening option, and then choose as required.
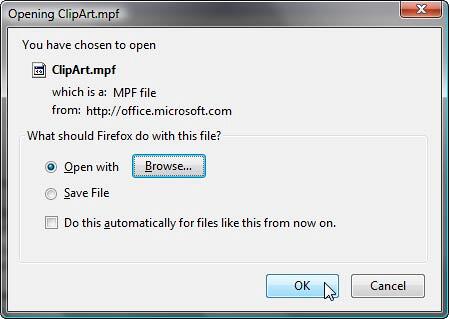
Figure 6: Opening the downloaded clip art - If you choose the Open option, this will typically launch the Microsoft Clip Organizer (see Figure 7) with the downloaded files.
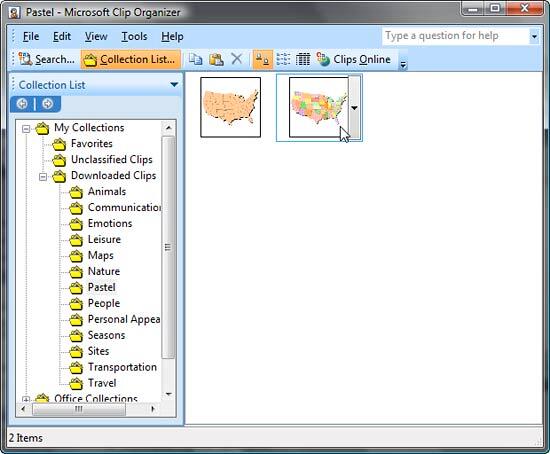
Figure 7: Microsoft Clip Organizer - Just drag and drop the the downloaded files to the Desktop, and let them be there. Then proceed with inserting them in PowerPoint and then ungrouping.


