Once you sign into your Sway account, you can create Sways! Yes, the program and the files it creates
are both called Sway. So what do you need to create Sways? You can either use the content from your local device, or any content from internet
sources such as Bing, OneDrive, YouTube, and Facebook. These created Sways can be shared
later as interactive reports, presentations, personal stories, and more.
To create your own Sway, follow these steps:
-
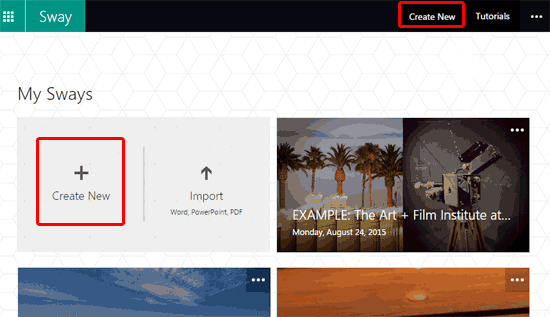
Make sure you sign into your account first. Then click on any of the Create New buttons,
as shown highlighted twice in red within Figure 1.

Figure 1: Create New button- This opens a page where you can start creating your Sway, as shown in Figure 2.

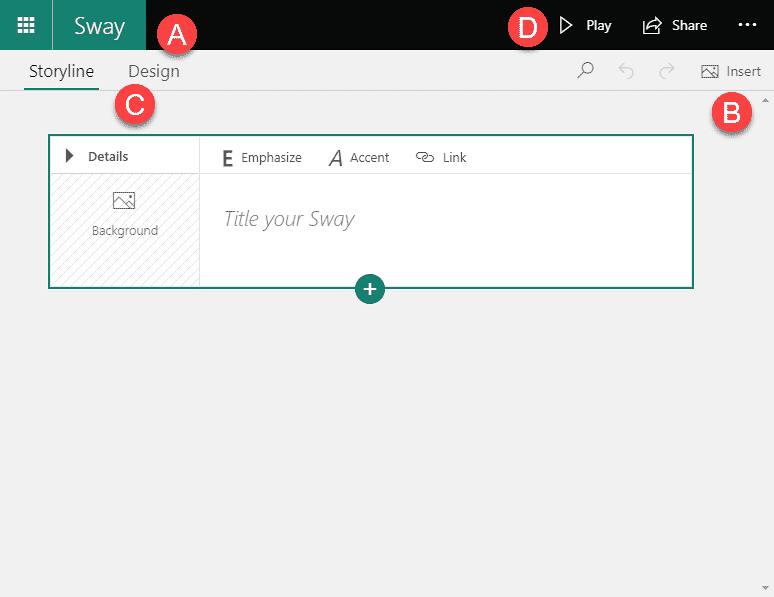
Figure 2: Create your Sway- All the options within this page are explained below, as marked in Figure 2, above.
A. Menu, Left
- Here you'll find two options:
Office Products
- Click on the leftmost matrix-like button to bring up a list of Office options, that include online versions
of Office producs, as well as options to access some Office services.
Sway
- Click on the Sway button to access your My Sways page.
B. Toolbar
- Four options (Search, Undo, Redo, and Insert) show up within this toolbar.
C. Storyline and Design
- This is your work area, where you can use the content and Cards to make up your storyline. The Design tab shows
you a preview of your Sway.
D. Menu, Right
- This area shows the Play, Share, and More Options.
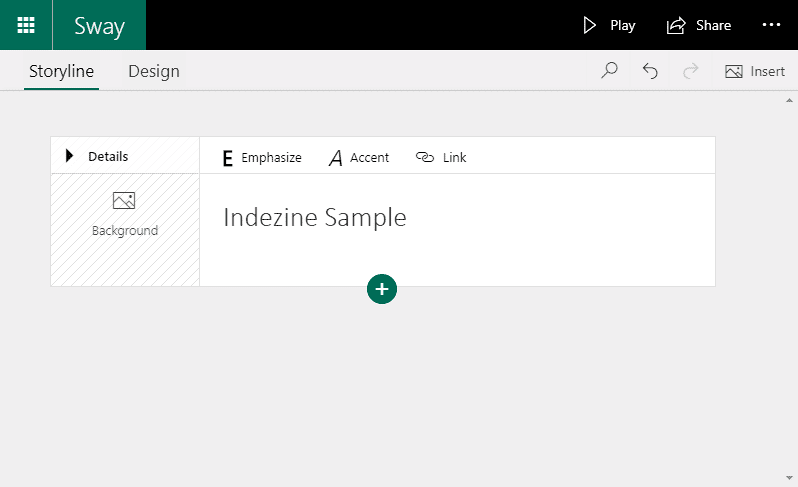
- For now, we have just added the Title, as shown in Figure 3. Note that there is no other content added.

Figure 3: Sway created- We will learn more in other Sway tutorials; many of these tutorials are already linked from this page. You can also import
your existing content such as PowerPoint, PDF, and Word files. Learn more in our Import
Content into Sway
tutorial.


