When you insert a video clip on your slide within PowerPoint, does it appear too dark or light? Doers this look similar to what you might have seen on your television, especially a new television where you have to make a few adjustments to get the picture just right? These adjustments can be made to any of the video clips you insert within your PowerPoint slides. These kinds of adjustments may not only be necessary for the appearance of the video clips on your computer, but also for how they show when projected onto a screen or even on a connected TV. Projectors are typically not as bright as computer screens, and some adjustments may help. The other reason to make any video clip light or dark through corrections is so that it can compensate for problems with the original video clip.
Let us explore how to make corrections to the inserted video clip in terms of brightness and contrast in PowerPoint 2013 for Windows:
- Open your presentation, and navigate to the required slide where you have already inserted a video clip. Select or double-click the video clip to bring up the two Video Tools tabs in the Ribbon. These two tabs are Format and Playback. Click the Format tab to activate it, as shown highlighted in red within Figure 1, below.
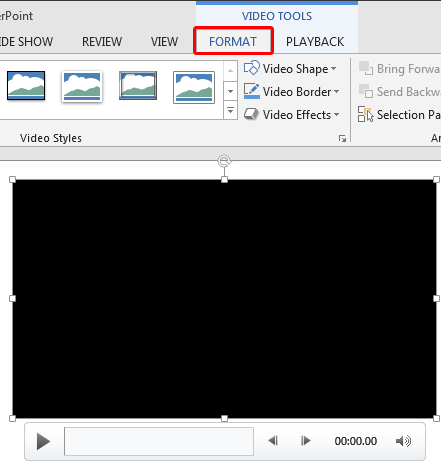
Figure 1: Video Tools Format tab of the Ribbon - When you insert a video on your slide, it may display a black rectangle on the slide, as shown in Figure 1, above. If your video clip does not show a black rectangle, then directly proceed to Step 3.
- If you see a black rectangle in place of the video clip, then you will not see any live preview of the actual correction adjustments you make. This is because you see a black rectangle instead of a frame associated with the video clip. To make sure you see a video frame during live preview, consider adding a Poster Frame to your video clip. Adding a Poster Frame will ensure that you see a frame from your video, as shown in Figure 2 below.
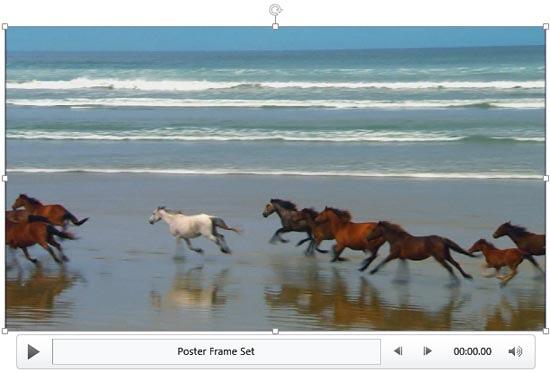
Figure 2: Video clip with a poster frame added - Now, within the Video Tools Format tab, click the Corrections button, as shown highlighted in red within Figure 3, below, to access the Corrections drop-down gallery that you can see in Figure 3.
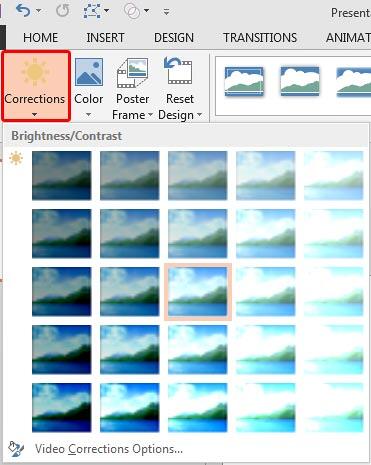
Figure 3: Corrections drop-down gallery - The Corrections drop-down gallery displays the preview thumbnails with different brightness and contrast values. The highlighted thumbnail in the middle represents the current status of the video.
- Hover your mouse cursor over any of the brightness and contrast variants within the Corrections drop-down gallery. As you hover, you will see a tool tip, as shown in Figure 4, below that displays the adjustment values of the particular variant. In addition, you will also see how the change affects the actual video clip's frame.
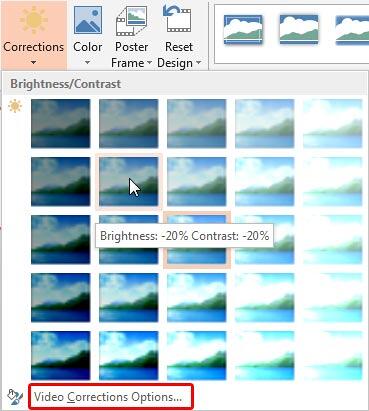
Figure 4: Brightness and Contrast values displayed as a tool tip - Once you find a variant you like, click on its preview thumbnail to apply the correction values to the selected video clip.
- At this point, if you are happy with the correction, you are done. Otherwise, you can further fine-tune the correction. To do so, select the Video Corrections Options, as shown highlighted in red within Figure 4, above, to summon the Format Video Task Pane.
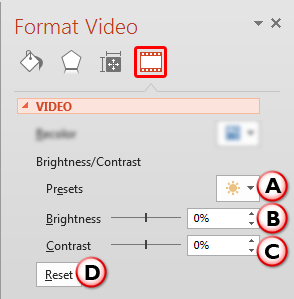
Figure 5: Video Correction options within the Format Video Task Pane - Within the Format Video Task Pane, make sure that the Video button is selected, as shown highlighted in red within Figure 5, above. Note that in Figure 5, the options that are not related to Corrections have been blurred. These options are explained in our Video Recolor Options in PowerPoint 2013 tutorial.
- Options related to Correction adjustments are explained below, as marked in Figure 5, above:
A. Presets
- Clicking the Presets button brings up a drop-down gallery, as shown in Figure 6, below. This gallery contains the same options as the Corrections drop-down gallery, as shown in Figure 4, previously on this page. Here, you can select any of the preset Correction variants.
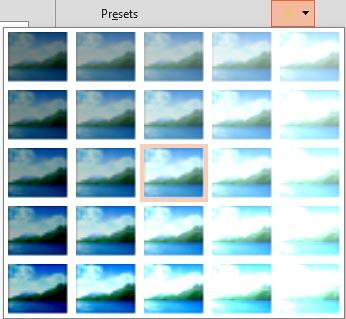
Figure 6: Presets drop-down gallery within the Format Video task pane B. Brightness
- Use the Brightness slider which you can find right below the Presets button (refer to Figure 5, shown earlier on this page) to change the brightness level of the video clip. Moving the slider towards left makes the video clip duller and moving it towards right makes the colors brighter. You also have an option of directly entering the exact brightness percentage you want within the box next to the Brightness slider. Use the up and down arrows within the box to increase or decrease the brightness percentage value as required.
C. Contrast
- Use the Contrast slider, as shown in Figure 5, previously on this page, to change the contrast level of the video clip. You can also directly type in the contrast percentage within the box next to the Contrast slider and use the up and down arrows within the box to increase or decrease the contrast percentage value as required.
D. Reset
- If you want to abandon all Brightness and Contrast (and also Recolor) adjustments made to the video clip, click the Reset button. Note that when you click this button, the video will be reset to its original form.
- Once you have fine-tuned the video using the Correction options, close the Format Video task pane.
- Figure 7, below, shows the selected video clip with changed brightness and contrast values. Compare Figures 2 and 7 to see the difference.
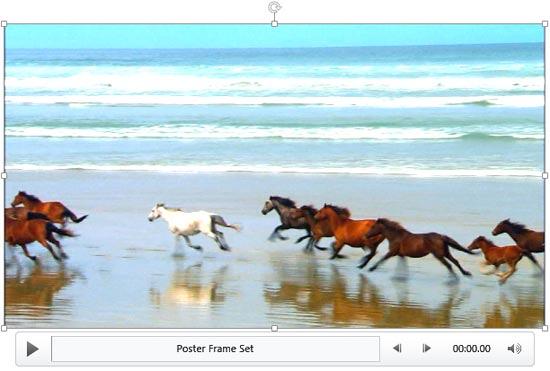
Figure 7: Video with changed brightness and contrast values - Play your video clip to see the difference. Make sure to save your presentation.


