The intent of Group Cards in Sway is to keep
related content together visually. There are several types of Group Cards. The first of the Group Cards is called Automatic, and this Card can
contain any Card types within the Text and
Media categories. In other words, there are no restrictions when adding content to an
Automatic Group Card.
Follow these steps to see how the Automatic Group Card works:
- Create a new Sway or open an existing one. Then access the All Cards
pane and select the Group category, as shown in Figure 1, below.
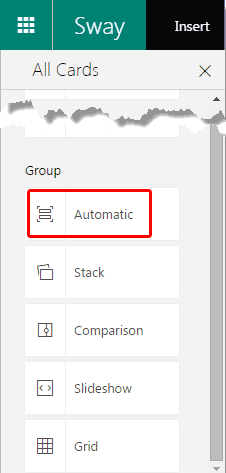
Figure 1: Group Cards within All Cards pane
Note: Is the All Cards pane, as shown in Figure 1 not visible? Then click the
Cards option in the menu bar as shown highlighted in red within Figure 2,
later on this page
- Then choose the Automatic option, highlighted in red within Figure 1. This
will place a new Group Card in your Storyline with an Automatic Group layout, as can be
seen in Figure 2, below.
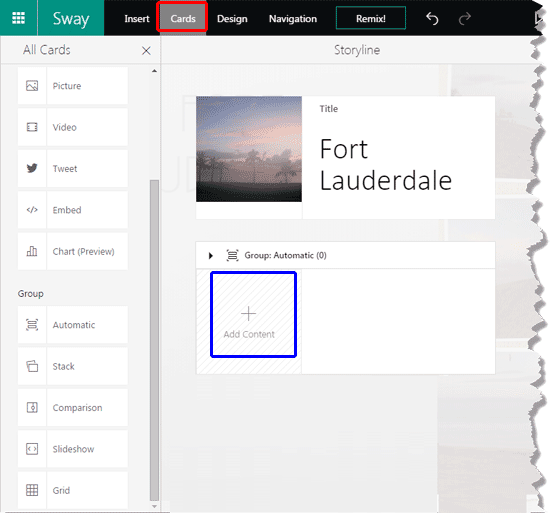
Figure 2: Automatic Group Card added- Click the Add Content box, highlighted in blue within Figure 2, above. This
will show the Insert pane, as can be seen in Figure 3, below. Options within the Insert pane are explained
in our Insert Options in Sway tutorial.
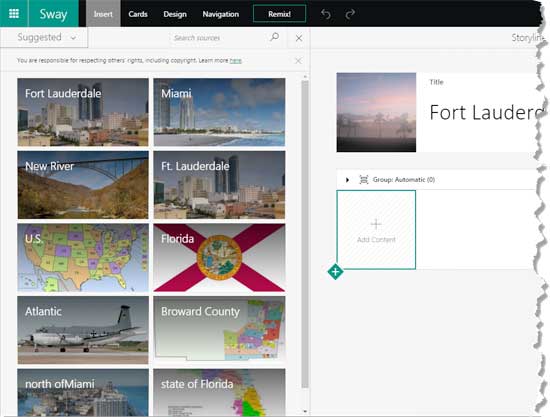
Figure 3: Insert pane- We added two Picture Cards and also one
Tweet Card, as you can see in Figure 4, below.
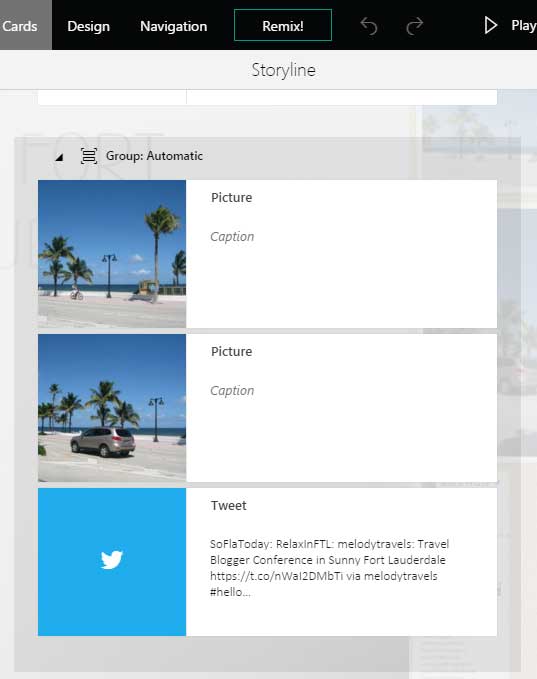
Figure 4: Picture and Tweet Cards in our Automatic Group Card- Why did we need to add a Group Card to add Picture and Tweet Cards? Could we not have added separate Picture Cards and
a Tweet Card on our own without an additional Group Card? The difference in adding a Group Card is that all the content within your Group Card shows
up arranged automatically while the Sway is being previewed or played.
- The moment you click on the Group handle/bar on the top, you will find that your Group Card collapses, as shown in
Figure 5, below. You will also notice that several options are available in the area now, and these are explained below:
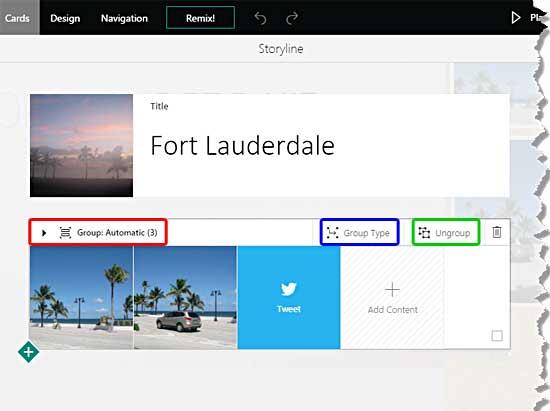
Figure 5: Automatic Group createdGroup Content
- This area which is highlighted in red within Figure 5 lets you
know which type of Group Card you have selected. In our case, this is an Automatic group that contains 3 Cards (indicated by the
number in parentheses).
Group Type
- This option, highlighted in blue within Figure 5 lets you change
from one Group Card type to another. This is explained further in our Changing Between Group
Card Types in Sway tutorial.
Ungroup
- You can click this button, highlighted in green within Figure 5 to
ungroup your Group Card into individual Cards. The sample Group Card shown in Figure 5 would in this case ungroup to two
Picture Cards and one Tweet Card.
Delete
- The last button on the right will delete the entire Group Card with all its contents!
- Within the individual Cards contained in the Group, you can do everything you can do with regular
Text and Media Cards. For example,
we selected a Picture Card within the Group Card, as shown in Figure 6, below. You will notice that this Card sports all the
options that are available within a regular Picture Card.
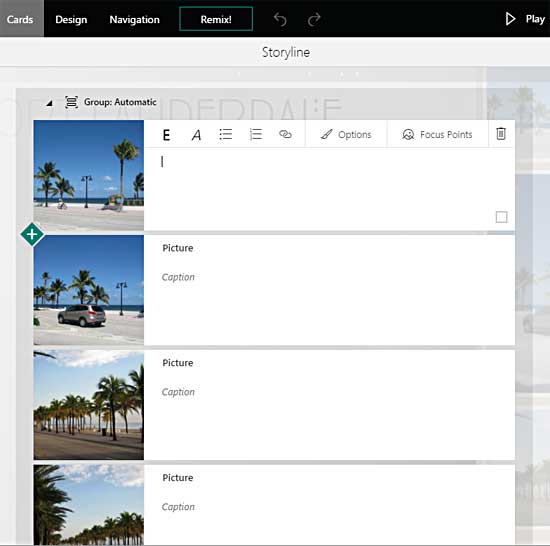
Figure 6: Picture Card within the Group Card- It’s a good idea to now play your Sway and see how your Automatic Group Card looks like, as shown in Figure 7, below.
Notice that the individual Cards in the Group are automatically arranged.
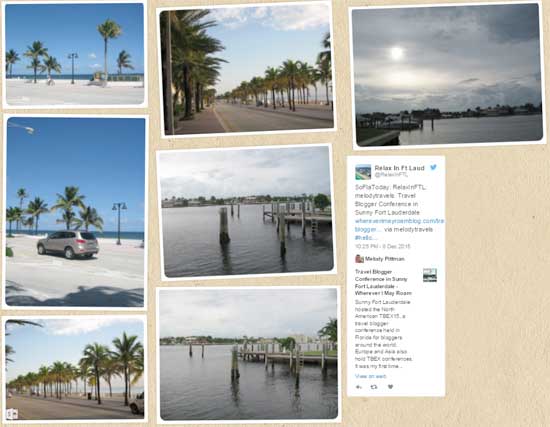
Figure 7: Automatic Group Card in Play mode


