PowerPoint is a slide program but that doesn't mean that it does not have some cool picture editing tricks up its sleeve. When we say "cool", we certainly do not mean just inserting a picture, or even the fact that you can apply corrections or recolor hues.
PowerPoint 2016 for Windows provides around 23 filters as part of its Artistic Effects options. Some of these filters (effects) can make your pictures look like paintings or sketches, and others can change the texture of your pictures. Apply any effect of your choice, and make sure you play around with all the options available to be aware of the surprisingly different results you can achieve right within PowerPoint. In this tutorial, we will show you how to apply Artistic Effects to your pictures.
Follow these steps to learn more:
- Open your presentation, and insert a picture on your slide. If the picture is already there on the slide, just select it and double-click to activate the Picture Tools Format tab of the Ribbon as shown in Figure 1 (highlighted in green).
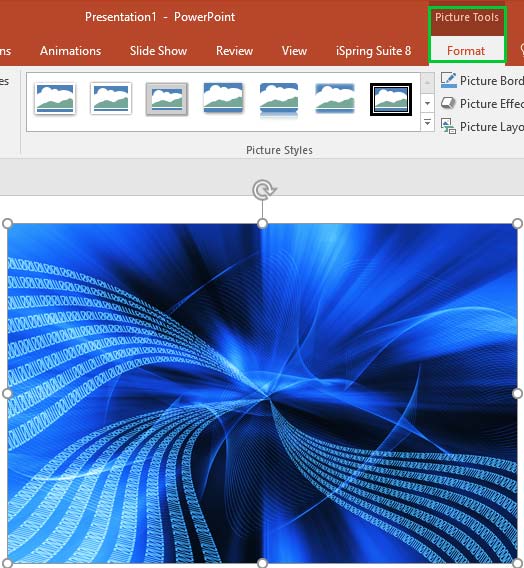
Figure 1: Picture Tools Format tab of the Ribbon Note: The
Picture Tools Format tab is a
Contextual tab. These tabs are special tabs in the
Ribbon that are not visible all the time. They only make an appearance when you are working with a particular slide object which can be edited using special options.
- Within the Picture Tools Format tab, click the Artistic Effects button (highlighted in red within Figure 2) to access the Artistic Effects drop-down gallery that you can see in Figure 2.
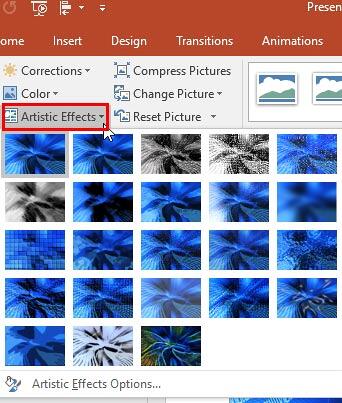
Figure 2: Artistic Effects drop-down gallery - If you hover the mouse cursor over any preview thumbnail, you will be able to see a tool tip with the name of the artistic effect applied to that preview thumbnail, as shown in Figure 3. Also, as you move your cursor over different previews, the selected picture shows you a Live Preview of the variation being hovered over within the Artistic Effects drop-down gallery (see Figure 3 again).
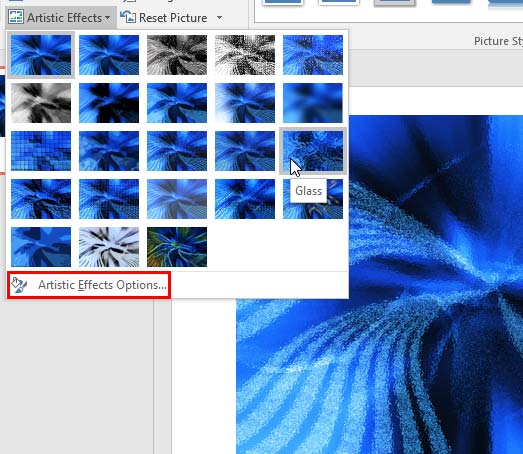
Figure 3: Live preview of the Glass Artistic Effect - To apply any artistic effect to the selected picture, just click on it. In Figure 4, you can see the Glass effect has been applied to the selected picture (compare pictures in Figures 1 and 4).
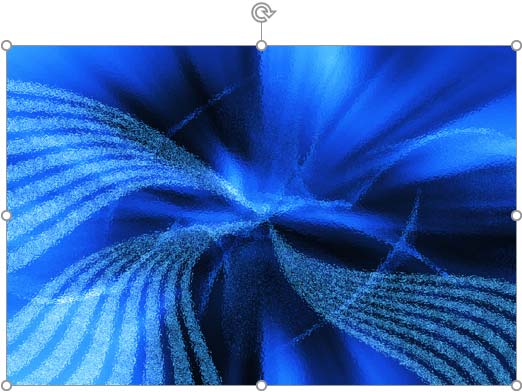
Figure 4: Artistic effect applied to the selected picture - Once you have applied an effect to the picture, you can fine-tune the effect to control the resultant effect. To do so, first make sure that the picture is selected. Then, access the Artistic Effects gallery and click Artistic Effects Options, the last option highlighted in red within Figure 3, shown earlier on this page. This will summon the Format Picture Task Pane, along with the Artistic Effects options as shown in Figure 5.
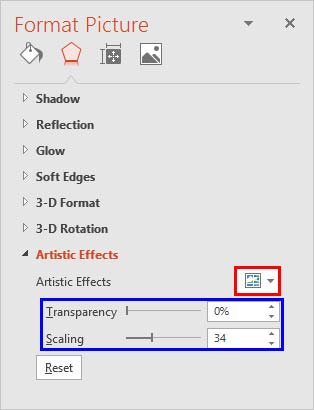
Figure 5: Artistic Effects options within the Format Picture Task Pane - Note that the options available within Format Picture Task Pane will differ, depending upon the Artistic Effect applied to your picture. If you have applied the Photocopy effect, you can change the Transparency and Scaling (highlighted in blue within Figure 5, above). We changed the Transparency from 0 to 45% , and Scaling from 34 to 100. You can see the result in Figure 6 below.
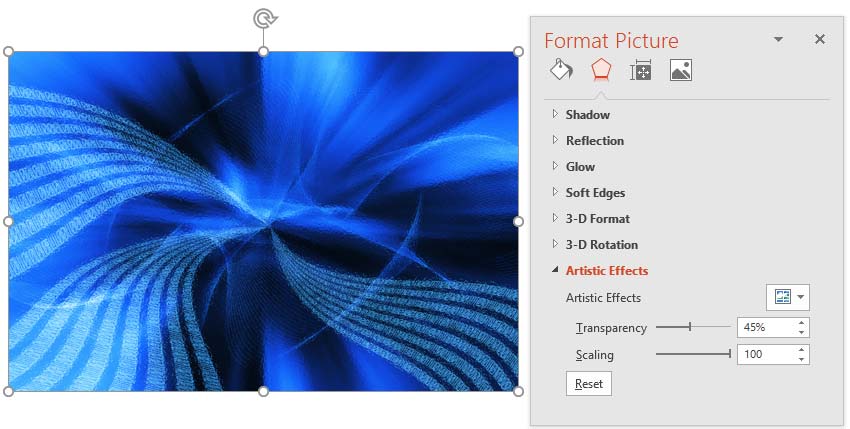
Figure 6: Selected picture with fine-tuned filter effect - Do note that different Artistic Effects will provide different options. In fact, you can change the effect applied to the selected picture from within the Format Picture Task Pane itself. To do so, click the Artistic Effects button (highlighted in red within Figure 5). This action brings up the Artistic Effects drop-down gallery shown in Figure 7, below.
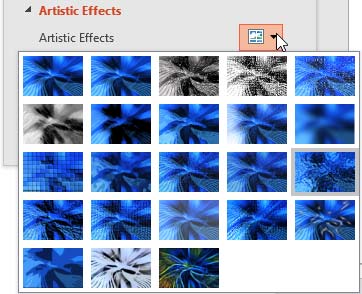
Figure 7: The Artistic Effects drop-down gallery within the Format Picture Task Pane - Once you apply your desired effect and fine-tune as required, close the Format Picture Task Pane.
- Save your presentation often.


