This next tutorial of the PowerPoint animation series shows you how you can add animation to a SmartArt graphic. We have already showed you how to add an animation to any slide object in PowerPoint.
In this example, we use a common column chart, but the concepts remain the same with other chart types.
Follow these steps to animate SmartArt graphics in PowerPoint 2007 for Windows.
- Insert a SmartArt on the PowerPoint slide. Learn how to insert SmartArt in PowerPoint 2007.
- Next, make sure that the Custom Animation Task Pane is visible, as shown in Figure 1, below. If this Task Pane is not visible, you won't be able to see or select any animations.
- For PowerPoint 2007 users, make sure that the SmartArt graphic is selected. Then, activate the Animations tab of the Ribbon. Next, click the Custom Animation button to bring up a Task Pane of the same name, as shown in Figure 1, below. Remember, this is a toggle option: click once to show the Custom Animation Task Pane, and click again to hide it!

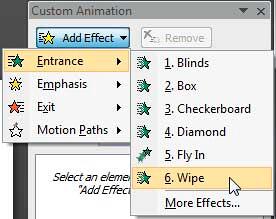
Figure 1: Custom Animation Task Pane - In the Custom Animation Task Pane click the Add Effect button, as shown in Figure 2, below.

Figure 2: Add Effect - Doing so opens a fly-out menu that lets you select any of the
four animation types that PowerPoint provides. For this tutorial, we chose the Entrance option, which opens another fly-out menu, as shown in Figure 2, above.
- Choose any of the animation styles in this fly-out menu, or choose More Effects to see more animation options. We won't go into detail about adding an animation here since we have already covered that part in our Adding an Animation in PowerPoint 2002, 2003 and 2007 tutorial. We chose the Wipe animation and selected the From Bottom direction (look ahead at Figure 3, below).
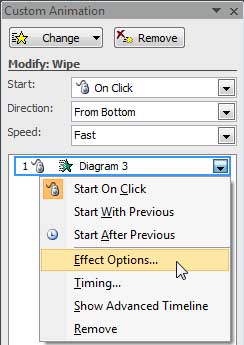
- Now, right-click the animation item in the Custom Animation Task Pane and choose Effect Options from the resultant context menu, as shown in Figure 3, below.

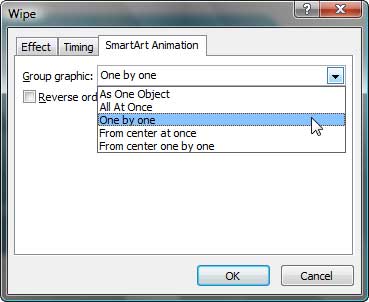
Figure 3: Effect Options - Doing so summons a multi-tabbed dialog box, as shown in Figure 4, below. Click the SmartArt Animation tab, and from the Group graphic drop-down list, choose any of the options:
- As One Object: Animates the entire SmartArt graphic at one go.
- All At Once: Animates all SmartArt shapes at one go.
- One by One: Animates SmartArt shapes one by one.
- From Center at Once: Animates the SmartArt from center at one go.
- From Center One by One: Animates the SmartArt from center one by one.

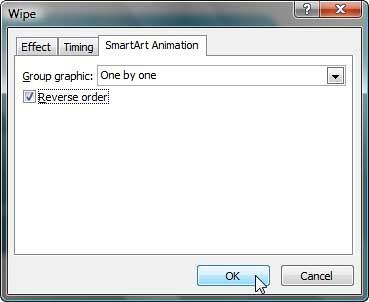
Figure 4: SmartArt Animation - You can set the animation to play in reverse order by choosing Reverse Order check box, as shown in Figure 5, below.

Figure 5: Reverse Order - Click the OK button to apply, and save your presentation.


