Learn how to align, show, hide, or remove all the captions within the STAMP add-in for PowerPoint.
Author: Geetesh Bajaj
Product/Version: PowerPoint 2016, 2013, and 2010 for Windows
OS: Windows XP and higher
The STAMP add-in for PowerPoint is a free download from Microsoft
that lets you add captions to media such as movie clips inserted in your slides. When installed, the STAMP add-in creates new buttons in the
Video Tools Playback tab of the Ribbon
in PowerPoint, within the Captions group of the Video Tools Playback tab, There are several options in this group that can be
helpful while working with your existing captions (these can be seen in Figure 1 below).
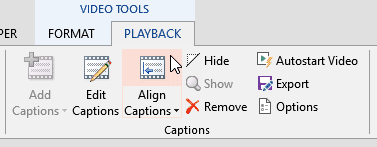
Figure 1: Align Captions button
These options are:
In this tutorial, you will learn more about these options.
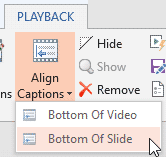
If you have moved or resized the video clip since you added captions, you can easily re-align the captions to the new video dimensions. Additionally you can align captions to either the clip or the slide:
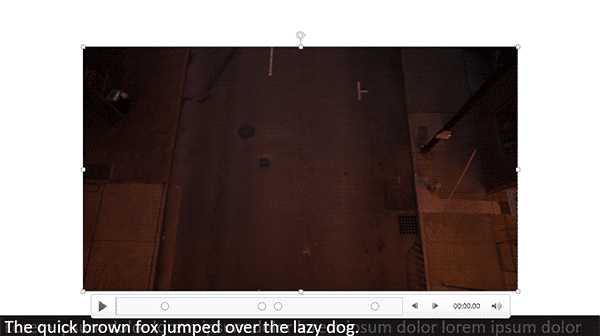
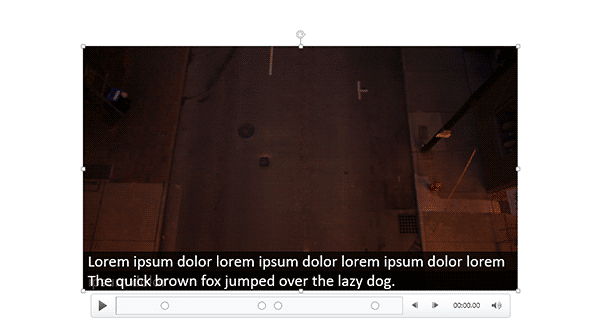
To hide captions, first select the video, and then click the Hide button. Hiding captions does not remove the captions or even the video clip from the presentation.
To display captions that you have previously hidden, select the video, and then click the Show button. Do note that the Show button will be grayed out until you actually hide any captions.
Select the video which has captions added. Then click the Remove button. This opens the
Delete Captions warning window asking if you want to remove all the captions permanently from the selected
media. Click Yes to proceed.
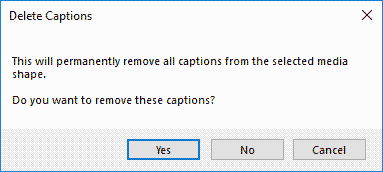
Figure 5: Delete Captions window
Changes the start event of your video from On Click to Automatically. Your video with captions will now play automatically when you play the slide, or after another animation event on the same slide (if animations exist on the slide).
Exports your subtitles to a TTML file. To learn more about TTML files, explore our TTML XML Files for the STAMP Add-in tutorial.
Brings up the STAMP Options dialog box that allows you to fine-tune settings for the STAMP add-in, as shown in Figure 6,
below. You can choose default caption styles for font, font size, font formatting, the transparency and fade durations for captions, timing accuracy, and more.
Also, with the STAMP add-in installed, you may see the Caption Editor window each time you insert a media clip on your slide. You can turn off this behavior,
or change the behavior to import captions rather than creating them manually.

Figure 6: STAMP Options
Microsoft and the Office logo are trademarks or registered trademarks of Microsoft Corporation in the United States and/or other countries.